Date: 05-09-2026
|
Number of Hours: 3.00
|
Short Description: Left aileron (21-08)
|
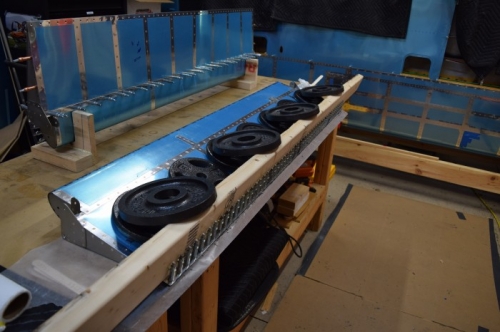
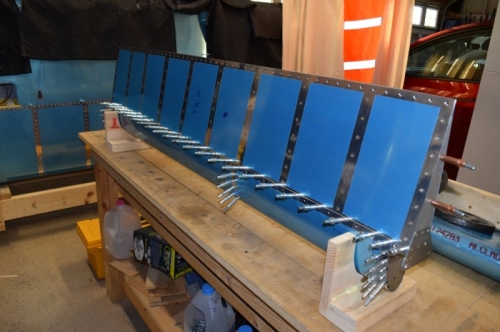
More work on the ailerons. I rivetted the bottom skin to the aileron spar. It was a little difficult to get my hand between the skins, but other than losing a little skin on my wrist, it seemed to work ok. I failed to notice that the end ribs needed to be dimpled, but I managed to dimple them anyway without too much trouble. I also completed the trail edge pro-seal work and am currently waiting for that to set up. I came really close to leaving the bucking bar in the aileron, but luckily, I remembered before I tried moving it around and was able to slide it out. Now I am working on the right aileron.
Left aileron trail edge completion (26-065)
|
Working on right aileron (26-066)
|

Bottom view of left aileron while pro-seal sets up (26-067)
|
|