Date: 09-20-2026
|
Number of Hours: 0.00
|
Short Description: Canopy skirt - (2) Right side skirt work
|
More pictures of today's work...
I continued sanding the lower right skirt until I was satisfied with its overall thickness. As noted previously, one area required substantial material removal, so I addressed it through multiple cycles of sanding and checking the thickness. I also sanded the side of the right skirt and hope to reduce the number of SuperFil applications required on that side.
Finally, I applied what I hope will be a generous layer of SuperFil to the valleys on both the left and right sides. This was the first SuperFil application on the right-side skirt, but I have no such excuse for the left side, where this is probably the fourth application. I may need to re-calibrate my straight edge to eliminate those valleys!
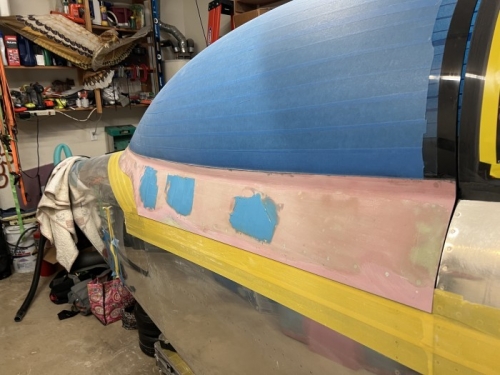
Right side skirt bottom at the right thickness
|
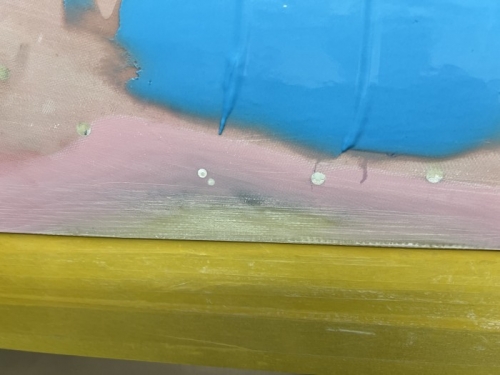
This is the hight work area - You can see the after market epoxy/flox showing thru on the right side
|
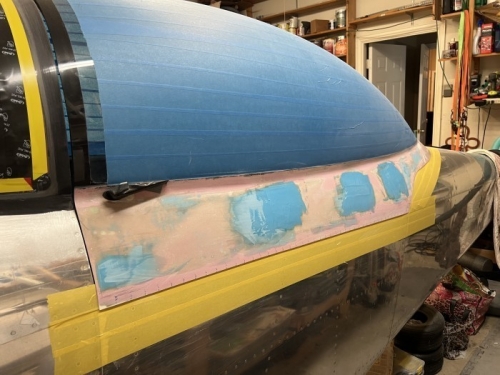
Left side Superfiled once again
|
|