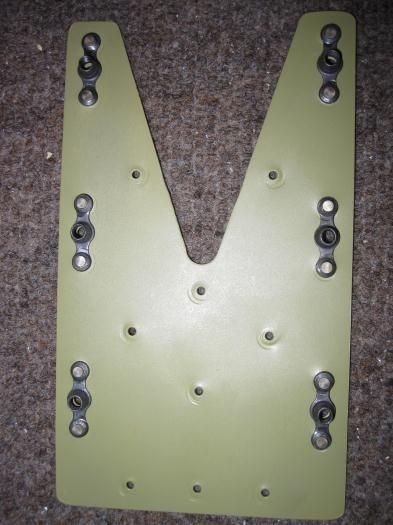
Attach the six nutplates to the F-10108B Splice Plate using the rivets called-out.
47-8, Steps 1, 2, 3, 4, & 5
Make two COWL-10-03 Side Hinges from AN257-P3 piano hinge per the dimensions given. Do not cut the pin supplied with the hinge.
Clamp the lower half of both COWL-10-03 Side Hinges to the upper edge of the bottom cowl with a 1/64 - 1/32 inch gap between the notch boltom and the bottom cowl upper edge. The aft edge of the side hinges should be flush with the aft edge of the bottom cowl.
Using the shadow of the COWL-10-03 Side Hinges visible trough the bottom cowl, lay oul a rivet pattern with one inch spacing. Leave 5/16" edge distance at the forward and aft ends of the side hinges.
Drill #40 the rivet pattern layed out in into the bottom cowl and COWL-10-03 Side Hinges.
Remove the lower half of the COWL-10-03 Side Hinges from the bottom cowl. Deburr the side hinges.
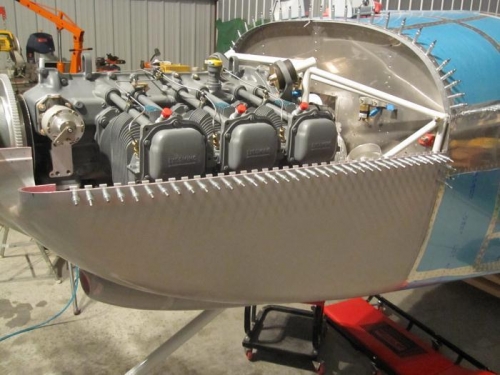
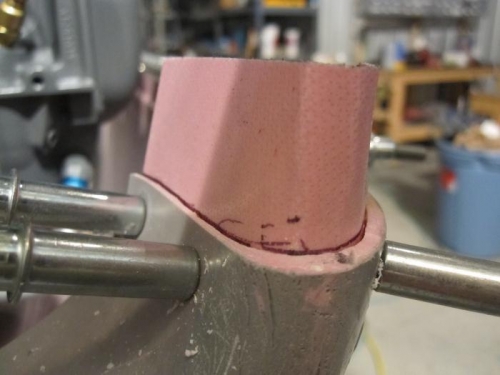
I'm also implementing a mod suggested by Geoff Combs, which is to add an alignment tab to the front outboard edge of the cowl. We heated a left over piece of fiberglass from the doors until we could get it to conform to the bottom cowl. The height of the tab will most likely need to be trimmed to fit the top cowl.