Brief Description: Left Control Stick and Instrument Panel
39-7, Step 1
Clamp the WD-1 011-L Left Control Stick Base to a drill press table. Insert a WD-1012 Control Stick into the control stick base as far as it will go. Rotate the control stick until it is planar with the surface of the table. Match-Drill #12 through the assembly using the hole in the control stick base as a guide. Support the control stick base with a block if necessary. Disassemble the parts and deburr.
Per recommendations of others, I cut a little bit off the end of the control, so that it will move the stick aft a little to minimize potential issues with the stick hitting the panel. I made a cut so that the stick base goes up to the point on the stick where the powder coating starts. I also had to spend some time smoothing out the interior of the stick base due to some ugly weld ridges.
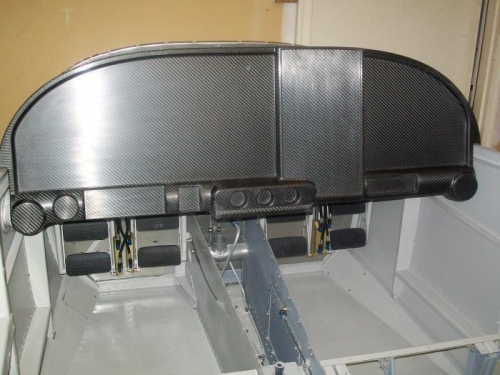
I also picked up a carbon fiber instrument panel from Geoff Combs at Aerosport Products. (www.aerosportproducts.com)
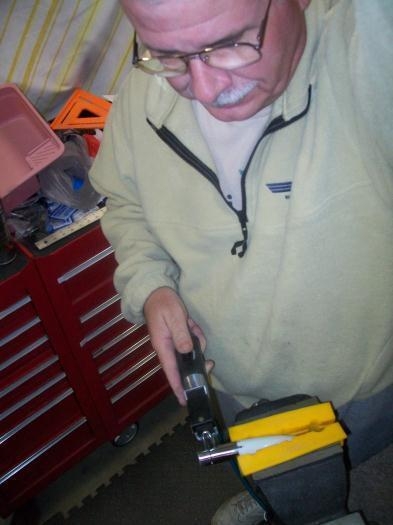
Cutting a little off the bottom of the control stick
Match drilling a #12 hole through the control stick