I’m skipping around a bit to create a larger batch of parts to prime. I don’t want to prime one or two parts at a time. I also spent some time clean up the conduit runs to get them out of the way of the panels being worked on in this section.
35-3 Step 2
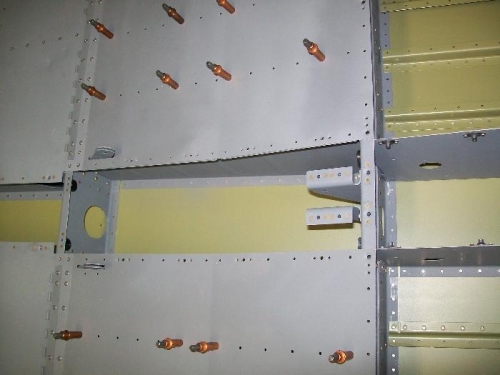
Dimple two K1100-08 nutplates. Rivet these nutplates to the center upper flange of the F-1005A Rear Spar Bulkhead and two K1000-08 nutplates to the center upper flange of the F-1034A Fuselage Bulkhead.
35-4, Steps 1, 2, 3, 4, & 6
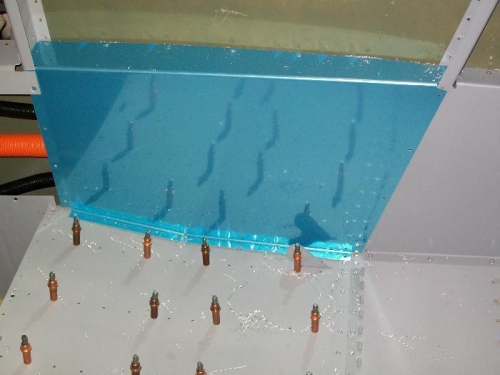
Final-Drill #19 all the screw holes in the lower flanges, forward flange, and aft flange of the F-1025-R Rear Seat Cover Panel. Deburr then dimple the lower three screw holes in the forward flange of the F-1025-R Rear Seat Cover Panel for the head of an #8 screw.
Install the F-1025-R Rear Seat Cover Panel using the hardware.
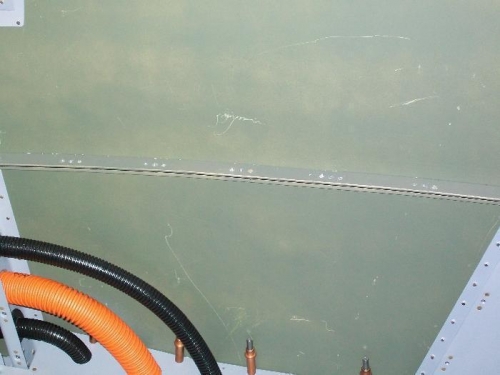
Match-Drill #19 the screw holes in the upper flange of the F-1025-R Rear Seat Cover Panel into the F-1013-R Fwd Fuselage longeron.
Using a nutplate as a drill guide match-drill #40 the nutplate attach pattern into the F-1013-R Fwd Fuselage Longeron at each of the seven locations. Machine countersink these holes for the head of an AN426AD3 rivet on the upper side of the longeron. Deburr all the holes in the longeron drilled in this step.