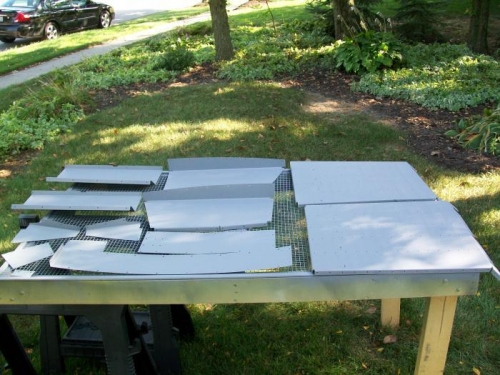
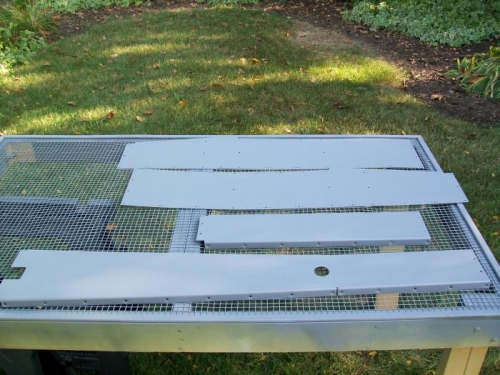
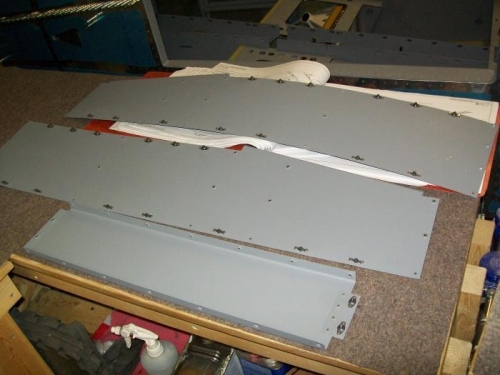
Finished deburring, scuffing, cleaning, and priming all the various parts in this chapter.
35-2, Steps 3 & 4
Remove the F-1016C-L Floor Pan. Deburr the holes and edges of the floor pan and the holes drilled.. Dimple all the rivet holes in the bottom face of the floor pan. Dimple the screw holes in the bottom face of the floor pan for the head of an #8 screw. Dimple the nutplates.
Rivet the five nutplates to the bottom side of the F-1016-L Floor Pan.
35-5 Steps 3 & 4
Disassemble and deburr all parts. Dimple the rivet holes in all the parts. Dimple the screw holes in the F-1051C Aft Fuselage Tunnel Cover and the F-1051G Splice Plate for the head of an #8 screw. Dimple the nutplates.
Rivet the F-1051C Aft Fuselage Tunnel Cover and F-1051G Splice Plate together and the two nutplates common to the F-1051 G Splice Plate. This will create the Aft Tunnel Cover Assembly.
35-9, Steps 2 & 3
Duburr the holes and edges of both the F-1 01SD-R Mid Cabin Side Cover and F-10676 Seat Floor Cover. Dimple all the screw holes in the mid cabin side cover except the top row of holes and the holes in the forward lower flange. Dimple the platenut attach holes in the mid cabin side cover. Dimple the platenuts. Machine countersink the screw holes on the inboard face of the F-1015C Mid Cabin Decks. Machine countersink the locations for the four AN509-8R8 screws
Rivet the platenuts to the F-1015D-R Mid Cabin Side Cover.