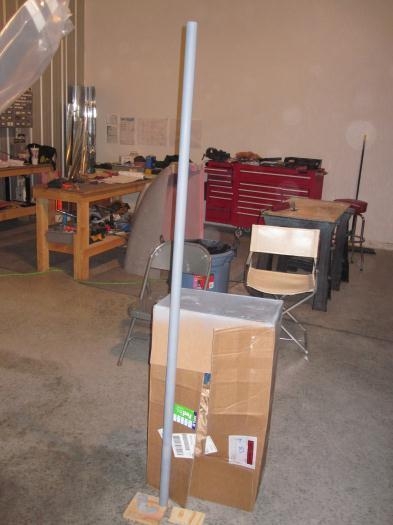
Cut the F-1091 Pushrod to length from AT6-035 X 1 1/2 aluminum tube.
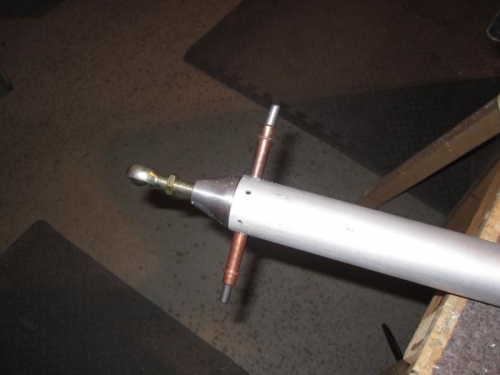
Install the VA-101 Threaded Insert into the F-1091 Elevator Pushrod. In order to accurately mark the locations of the threaded insert attach holes onto the push rod make a simple template from a strip of stiff paper. Wrap the 1/2 X 2 in. strip around the outside of the pushrod, trim it until the ends just meet, then flatten it out and mark the pattern of six evenly spaced holes. Wrap it around the pushrod again and transfer the spacing to the pushrod. DriII # 30. Disassemble, deburr and prime the pushrod ends.
Because the pushrod effectively becomes an enclosed unit with no practical possibility of intemal inspection we recommend priming the inside of the push rod. Pour liquid primer into one end and swirl it toward the other, coating the entire inside of the pushrod. An alternative method is to spray primer into one end of the push rod, then turn the pushrod around and spray into the other end. Let the primer cure thoroughly before continuing. The primer must be dry before installing the rod end bearings.
Holes drilled into the push rod and threaded insert