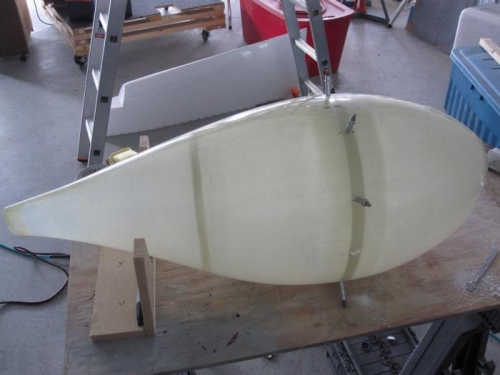
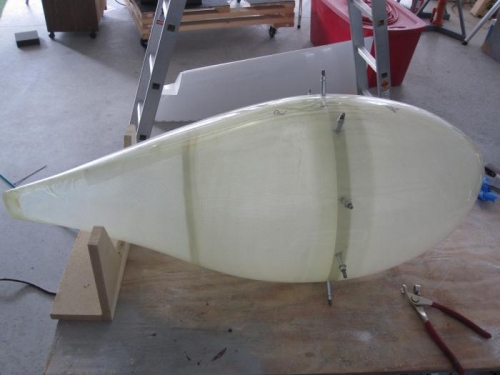
Place the U-10S7B Wheel Fairing Rear on the bench and make it plumb using a square so that the reference line on the fairing is vertical. Mark a centerline as shown by measuring horizontally across the forward opening of the fairing. Position a square at the midpoint of this distance and mark the top of the wheel fairing rear. Extend the mark 1/2" aft of the molded step. This reference mark will serve to align the wheel fairing along its roll axis.
Tape the U-10S7A Wheel Fairing Front and U-10S7B Wheel Fairing Rear halves together.
Drill and deco the U-10S7A Wheel Fairing Front and U-10S7B Wheel Fairing Rear halves together. Measure down from the centerline marked earlier. Drill and deco beginning at the top of the fairings. Center the holes in the middle of the flange fo re and aft. Work down the sides to help minimize bulging and mismatch between the fairing halves. The fairings as supplied are symmetrical (no right or left hand fairing) but the asymmetrical fastener pattern will establish the left and right fairings. The 1/2 inch hole is a start for the U-1001-L Main Gear Leg entry point and will be trimmed more later.