Insert WD-1014C Torque Tube Collars in the open ends of the WD-1014 FORWARD Forward Torque Tube Subassemblies. Using a #30 bit, match-drill the torque tube collar using the holes in the forward torque tube subassemblies as drill guides. Install a cleco in each hole as it is match-drilled. Using a #12 bit, final-drill through both sides of the forward torque tube subassembly and torque tube collar. Install a bolt, washer to hold alignment while the other bolt hole is final-drilled #12.
Mark the WD-1014 FORWARD Forward Torque Tube Subassemblies and WD-1014C Torque Tube Collars so that they can be re-installed in the same orientation as when they were match-drilled. Remove the nut, washer, and bolt that were installed during match-drilling. Remove the torque tube collars from the forward torque tube subassemblies and deburr the holes. Prime the torque tube collars both inside and out; prime the inside of the forward torque tube subassemblies. Attach the forward torque tube subassemblies to the torque tube collars using the hardware.
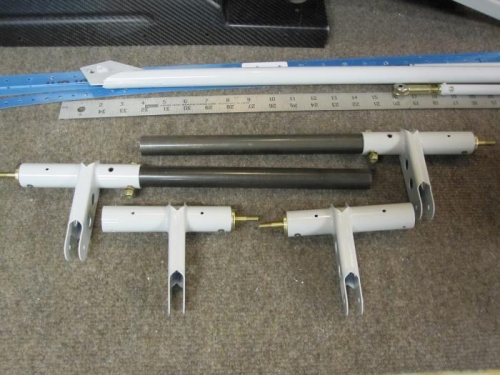
I won’t prime until I finish drilling the holes on the other pushrod end. It was also interesting in the plans call for two WD-1014 torque tubes, but I didn’t have two tubes in stock. In turns out that these two parts are to be fabricated from a 22” steel conduit. No instructions were in the plans on what length to cut these parts. However, there was a dimension on the overall length of the three parts after assembly. So it took a little reverse engineering to get the appropriate dimensions to cut the tube. In the end, the measurements were simple, just cut the tube in half to make two parts.