
|

|
|
|
Zenith CruZer & Sonex Logs
|
Date: 9-29-2011
|
Number of Hours: 2.70
|
Manual Reference: SNX-C01 / -P31
|
Brief Description: Install Control Frame / Mount Propellor
|
|
Well, Kerry said I should use the 1/16" shim between the bottom of the sticks and top of the spar tunnel. When I checked it today, that means that I have to trim-off some of the elevator pushrod. Otherwise, full-down elevator would occur past the stop point of the control sticks. Removed all linkage and using a cutoff wheel removed 1/4" from the long elevator pushrod.
Trimmed the idler pushrod a bit on one of its welds - it was rubbing on the idler pivot link. Painted.
Did final install of control stick frame. Obtained the correct oilite bushing from Lowes. Had to trim it down a bit, but otherwise just fine. Kerry also said that I could add washers as needed to take up the slack between the attach angles and the control frame. It took 4 washers. See pic 1.
Installed the idler pushrod, but only attached to the stick frame, as I wanted the paint to dry on the other end.
Decided to mount the prop. Put it on without much thought (didn't tighten), THEN I read the instructions that want you to mount it in relation to TDC. *sigh*. Found TDC, repositioned the prop, and installed the locknuts only barely touching the crank flange. Didn't want to torque until tomorrow, so I didn't want any pressure on the wood of the prop.
|
|
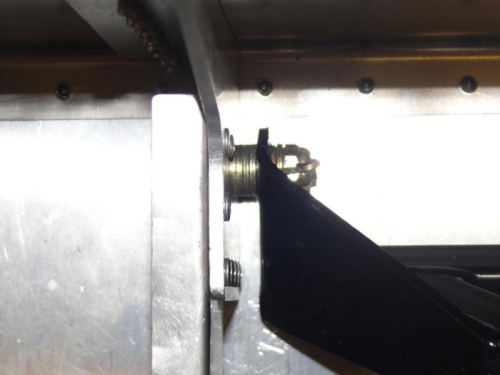
Control frame mount to fuselage; washers for spacing
|
|
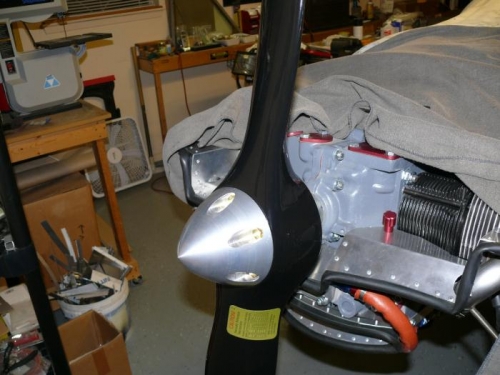
Initial prop install
|
|
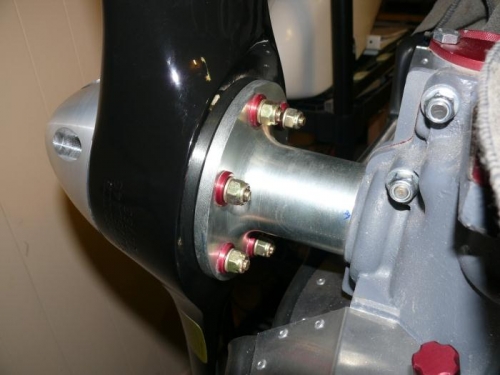
That's not abrasion on backside of prop; it's reflections
|
|
|
|
|
|
|
|
|
Copyright © 2001-2024 Matronics. All Rights Reserved.
|