
|

|
|
|
Zenith CruZer & Sonex Logs
|
Date: 10-31-2009
|
Number of Hours: 4.50
|
Manual Reference: SNX-L03 / SNX-L01
|
Brief Description: Drilling Titanium Gear Legs / Tailwheel Subassembl
|
|
Started today with fitting the gear legs to the motormount. The tubes that support the legs cannot have any powdercoat in them - it's that tight a fit. I started out sanding out the holes with sandpaper wrapped around my finger - this worked great for the lower sides of the tubs (fuse is inverted in the pictures). As much as I tried, I could not get the legs to slide down into the upper end of the tubes.
So, I removed the motormount. Beautiful day today; temps in the low 70's, so I decided to do the remaining sanding in the grass - gentle on the mount, no dust in the shop, and less chance to get in my lungs. So I made up a dowel jig that was slit down the length to hold emery paper that could fit in my drill. Inserted into the hole, this would theoretically not take much time at all. Sheesh. I must have spent between an hour and an hour and a half sanding and sanding and sanding. To my credit, not much was being removed at any one time, so it's not like I was sanding away the entire gear tube. Lots of sanding, trial fits, etc., before the legs slid in with a nice friction fit.
Then it was time to drill a 1/4" hole 1/2" from the end of the gear legs. These are titanium, so special drill procedures are required. If you overheat the metal, it ruins the drill bits, and makes the titanium brittle and subject to breakage. I followed the method used by Kerry Fores of Sonex in an EAA "Hints for Homrebuilders" video, and it worked great - took only about 20 minutes to drill both holes - dead center, smooth as silk inside.
Re-installed the mount to the fuselage, and the legs slid in nicely - see pic 1 below. Removed the legs and up-drilled the gear leg mount holes in the motormount to 1/4" - they were about 1/64" too small. Re-installed one leg at a time and drilled thru the front side of the mount, thru the gear leg,
Lastly, updrilled the tailwheel pivot and caster, deburred, and test-assembled as shown in pic 3 below.
|
|
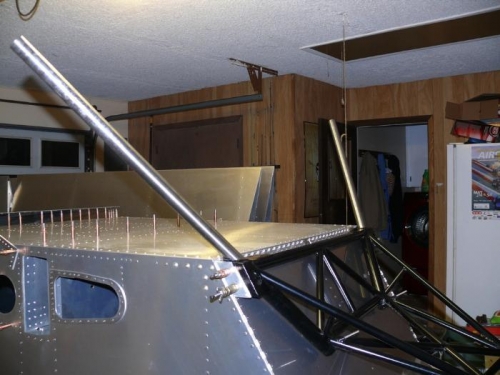
They Fit (finally, after MUCH adjustment)
|
|
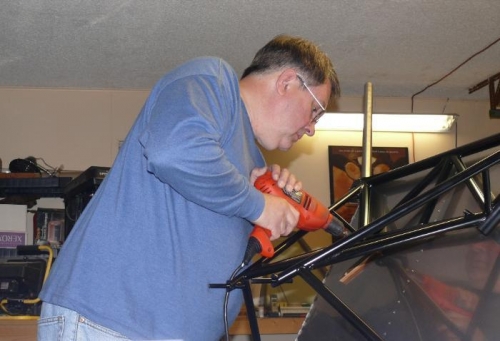
Me Drilling thru the backside of the gear mounting hole
|
|
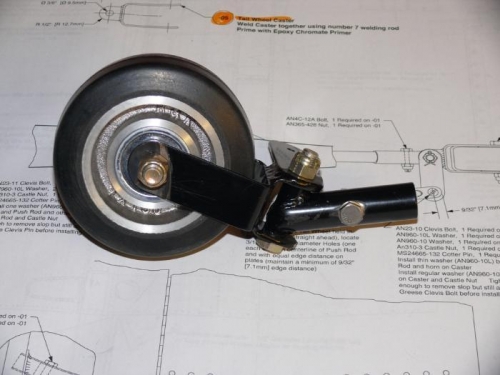
Test-Assembled Tailwheel SubAssy
|
|
|
|
|
|
|
|
|
Copyright © 2001-2024 Matronics. All Rights Reserved.
|