Brief Description: Rivet Baffles / Trim Baffles for Cowl
Had the 3 screw holes to drill in the back side of the aft baffle. I had pre-drilled the side pieces, so used those as a guide with my angle drill adapter.
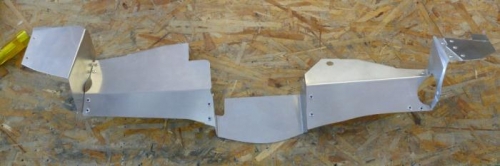
Disassembled everything from last night. Riveted the attach angles to the side baffle pieces. Interesting in that the rivets used are countersunk CCP-42's with the flush side facing the engine. This allows the attach screw clear access to the mounting hole.
Next I deburred all of the front baffle pieces, cleco'd them together, and riveted. Aluminum AAP-42 rivets are used here. Amazing how easy the pull, how easy to drill out the bad ones, and how weakly they hold together! No wonder Sonex doe not want them used for the panel or any other structural assy.
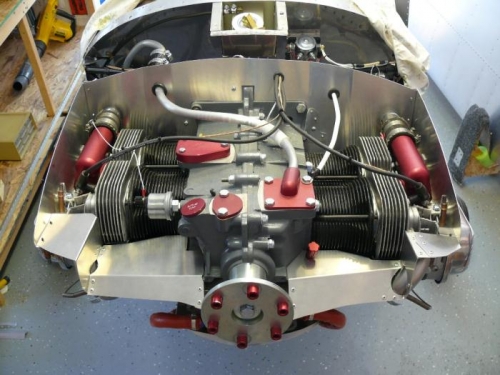
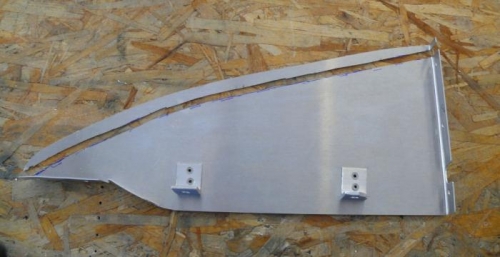
Put it all together and started to fit the right side cowl. All gaps (spec'd at 0.5") were OK except for the top of the right side baffle. Trimmed off about 7/16" of baffle material as shown in pic 3 below. Put it all back together to verify that everything had good gaps, then disassembled to clean up the cut line on the baffle.
Reassembled and then positioned the left cowl half. This side fit well on the side baffle. Only the front slope of the side baffle and a bit of the upper right corner piece will need to be trimmed. Had to stop for a family event this evening.