
|

|
|
|
Zenith CruZer & Sonex Logs
|
Date: 12-26-2010
|
Number of Hours: 2.90
|
Manual Reference: aerovee
|
Brief Description: Torque Gland Nut / SuperTin / Mags
|
|
Finally broke the logjam that was slowing things down, engine-wise.
When installing the SuperTin ducting around the cylinder heads awhile ago, I incorrectly placed the first one a few fins lower than it should have been per design. #2 son came over today to help with a few things, so I enlisted his help to remove the right head, correct the tin, then reinstall. It's just easier with 4 hands getting those pushrod tubes in position while lowering the head.
Once that was done, we removed the engine longblock from the engine stand bolted to the workbench and placed it on the bench to allow access to the flywheel gland nut for torqueing to 227 ft lbs.
I've heard of several builders who, upon performing their final torqueing, found the engine locked up and unable to turn due to improper endplay shim selection. So, we first tried it w/o the 272 LocTite and oil seal in place. We used 75.5 lbs of barbell weights suspended from a 3' steel pipe to give 226.5 lbs of torque at the flywheel gland nut. You can see the rod holding the weights in the lower left of the first pic below. Engine turned just fine. WooHoo!
Removed everything, cleaned it up, installed the rear main seal, and applied 272 LocTite to the gland nut threads. Re-installed the torqueing bar, braced the engine, and my son installed the weights onto the end of the pipe.
Next, dug out the parts, then installed the magnetrons to the accessory plate, then installed the plate onto the back of the engine. I'm beginning to think that I'll be able to get the engine onto the motor mount this week!
|
|
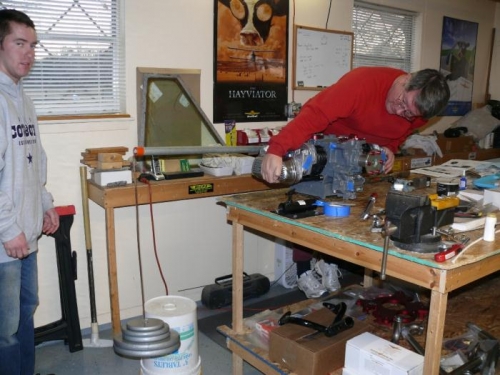
Torqueing Gland Nut - Notice Weights bottom left
|
|
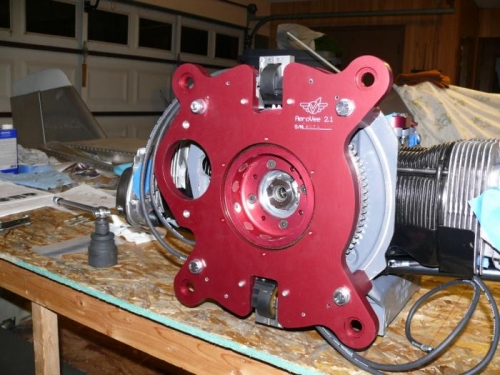
Installed Mags / Accessory Plate
|
|
|
|
|
|
|
|
|
Copyright © 2001-2024 Matronics. All Rights Reserved.
|