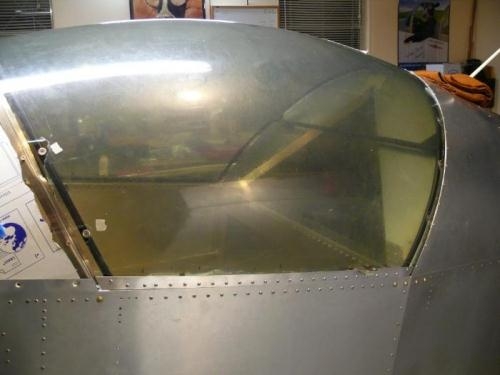
Performed final install of canopy transparency to the frame tonight.
Placed frame into fuselage; spaced fore & aft bows to correct distance. Overlayed transparency.
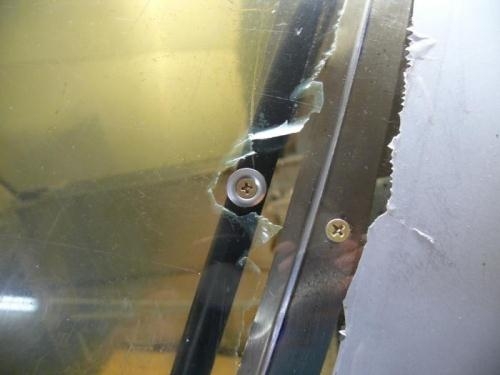
Started by installing countersink washers & screws; first all of the forward bow, then the aft. Don't know if it makes a difference compared to other methods.
Next I cleco'd the left side trim piece and the right side hinge piece to the side rails respectively.
The plans give you the option of using threaded #6 screws on the side rails, and I gave it serious consideration. I even purchased enough screws at AirVenture this year. Upon my return, though, I discovered that I had already up-drilled one side rail to 1/8", which would have just barely been enough "meat" left in the hole for a screw to grab hold. In the end, I used the as-per-plans AAP-44 aluminum rivets.
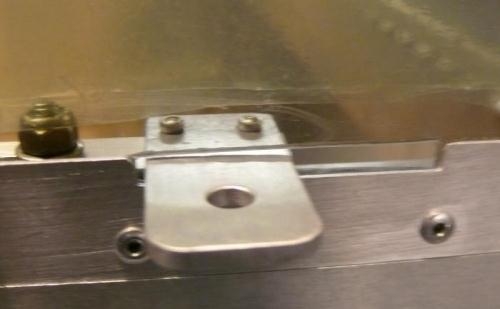
Last pic shows the riveted lock plate as it protrudes thru the canopy transparency. A lock plate slides in the slot next to the shown latch. The lock plate has a complementary plate that slides under the existing latch plate so that you can install a padlock.