
|

|
|
|
Zenith CruZer & Sonex Logs
|
Date: 9-18-2010
|
Number of Hours: 4.30
|
Manual Reference: SNX-D01
|
Brief Description: Drilling / Mounting of Canopy Transparency
|
|
The last time that I played with the canopy material, we ended with only a rough cut on the starboard edge of the material before running out of time.
Today we repositioned the material, and spent a fair amount of time trimming, sanding with a belt sander, etc.
Some builders start from the top of the canopy and work down; we started drilling holes in the material starting with the left side lower side piece in order to keep everything squared up, at least on one edge. We then proceeded up and over to the other side.
Once everything was cleco'd in place, we then spent a fair amount of time "finessing" the edge clearances around the airframe. I'm a bit disappointed in the aft edge on the passenger side of the plane; I took great pains to ensure the canopy bow was spaced consistently left to right, yet the right side protrudes more than the left side, which is just about flush.
We had to adjust the trim a bit because things that had decent clearance changed quite a bit when spots causing nterference were removed. Also, the canopy lock bar was extraordinarily tough to move - had to use a rubber mallet to budge it. Canopy tightness, plus the bowing-out loads caused by the canopy added some side loadings to the lock bar. I'm hoping that once things are screwed and riveted in position that it will help ease up the lock bar.
Still have to remove the transparency, paint the frame, countersink the holes, and then perform final assembly.
|
|
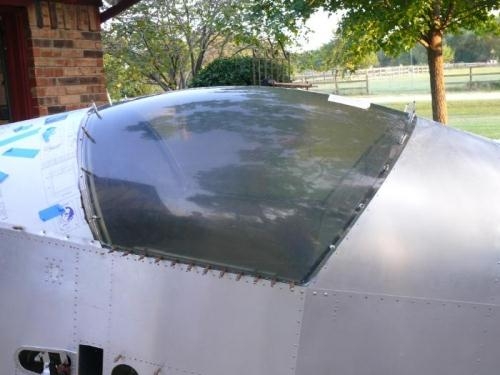
Overview shot, left side
|
|
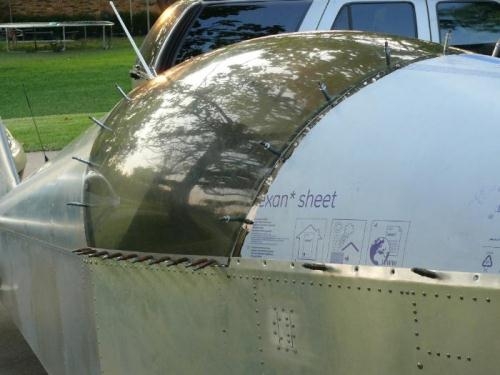
View from starboard
|
|
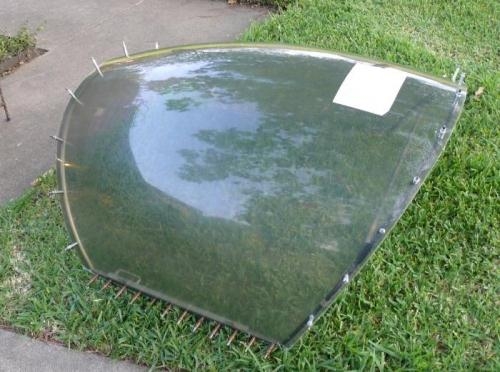
....and removed for cleanup, edge smoothing, etc.
|
|
|
|
|
|
|
|
|
Copyright © 2001-2024 Matronics. All Rights Reserved.
|