
|

|
|
|
Zenith CruZer & Sonex Logs
|
Date: 9-17-2010
|
Number of Hours: 4.50
|
Manual Reference: SNX-D01
|
Brief Description: Finish Canopy Frame
|
|
Today I wrapped up the canopy frame. (well almost; details below...)
The left side rail had not been drilled up until now; used the outer side trim to locate the pilot holes. Clamped the trim to the side rail, and drilled using #40 for the pilot holes. Next, on all 4 corners the builder locates the bottom holes in the canopy bows; one example is visible (the left front) in picture 2 below. Updrilled the holes.
Next I located and drilled the holes in the fore and aft bows. Once drilled, these will be tapped for a #6 screw to hold the canopy transpaency in place. Since I had already painted the aft bow assy, I used pieces of masking tape to locate the approximate location of each hole, then did a final meausre marked with a center punch. The forward bow holes are just located across from the windshield screws to make it look consistent.
Once the holes were drilled, I removed the frame and disassembled. I deburred the parts, then riveted together. Unfortonately, I forgot that one rivet was supposed to have a tab to hold the locking slide spring, so I'll have to drill it out and re-rivet.
I also stripped the instrument panel (yet again; sheesh...) I was cleaning it a bit and some solvent hit the painted surface, So I applied 3 separate coats of stripper, cleaned it, and repainted.
|
|
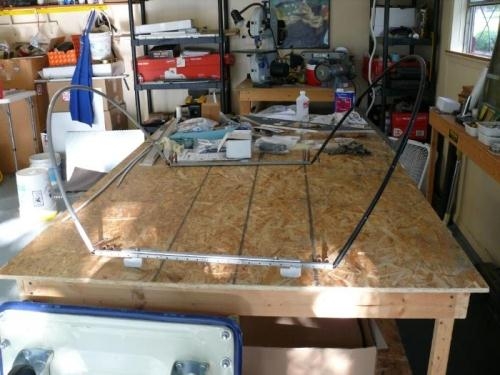
Frame on bench for riveting
|
|
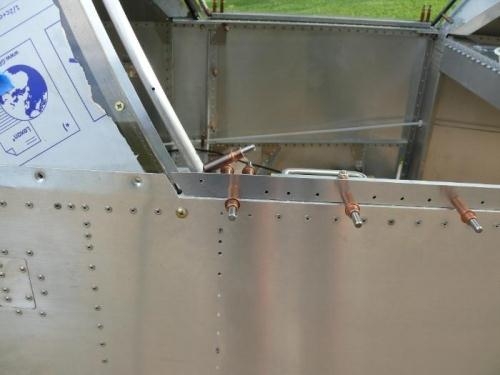
Aft bow; tape locates 5 3/8" spacing for screw holes
|
|
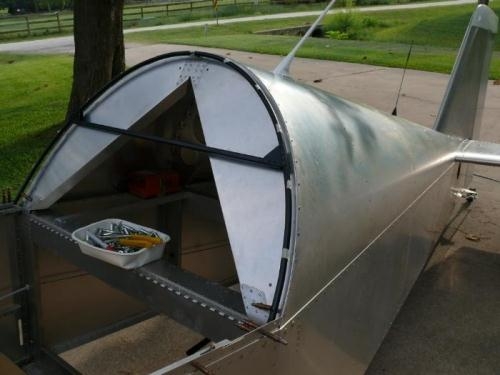
Left side outer trim piece drilled
|
|
|
|
|
|
|
|
|
Copyright © 2001-2024 Matronics. All Rights Reserved.
|