
|

|
|
|
Zenith CruZer & Sonex Logs
|
Date: 12-30-2009
|
Number of Hours: 1.30
|
Manual Reference: SNX-G01
|
Brief Description: Gas Tank Cleanup
|
|
Tonight I drilled-out (cleaned out) the 1/8 & 3/8 NPT fittings in the tank. This is done to remove any flashing from the tank molding process. As an example, the finger strainer that fits inside the tank at the fuel line location would not fit due to this flashing.
You "drill" out the flashing, then clean up the threads with a 1/8 NPT and 3/8 NPT tap, accordingly.
I then worked at enlarging the filler neck. Due to the molding process, the top of the neck is a bit smaller than just a few tenths below the lip. I obtained a drum sander for my hand drill and ground it out to where the cap would fit relatively easy but snugly.
Next, most tanks have the filler neck on the high side such that when the cap is installed, it sticks up above the edge of the filler box / filler door, I test-fitted the tank and determined that about 1/4" had to be removed from the neck.
Sonex recommends that this material be removed using the bandsaw. I could not maneuver the tank into a suitable position on mine, so I made a fairly-close rough-cut using a cutoff wheel in the Dremel tool. I then flushed the edges on the 3" wide belt sander. Surprisingly good, and even all around to boot. Re-installed the cap and test-fitted into the fuselage. The cap is now below the edge of the filler door, as required.
|
|
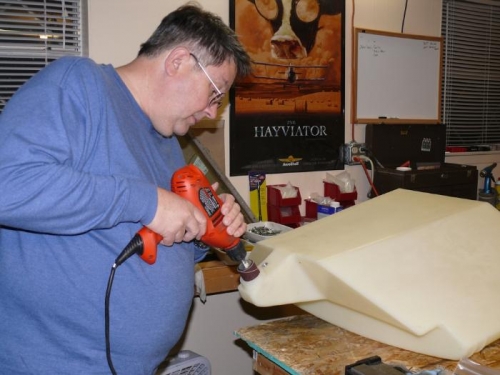
Me Enlarging the Tank Filler Neck
|
|
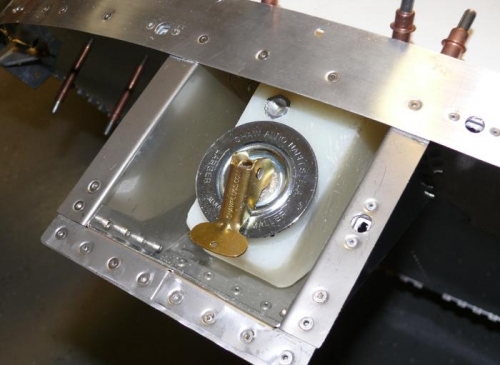
Cap at Adjusted Height - Fits Well
|
|
|
|
|
|
|
|
|
Copyright © 2001-2024 Matronics. All Rights Reserved.
|