
|

|
|
|
Zenith CruZer & Sonex Logs
|
Date: 8-20-2010
|
Number of Hours: 3.50
|
Manual Reference: SNX-D01
|
Brief Description: Cutting the canopy
|
|
Today the planets aligned and my son was available to help with the canopy, so we went for it.
The EAA Hints for Homebuilders video on cutting and fitting a Sonex canopy was a tremendous assist for this project - I highly recommend viewing it.
We first trimmed the canopy to the Sonex-placed tape lines. That gets you in the general neighborhood of where you need to be. We then removed the Sonex tape and placed the canopy where it was sitting even on both sides. We marked the centerline fore and aft with blue painter's tape to provide future guidance, then carefully marked the cut line on the forward edge of the canopy where it will rest on the windshield bow strap. We didn't do anything with the other 3 sides of the canopy except to ensure that the rear centerline was on-target.
I should note that it was about 102 degrees here today, which probably helped the canopy remain flexible and less prone to cracking. Additionally, my canopy is made from the newer SonPlex material, which is also supposed to be more durable.
Anyway, I spent quite a bit of time trimming the edge. I used (gasp!) a vixen file and medium-coarse file to remove material. Subsequent edges, I used a belt sander in addition to the file.
As the first 2 pics below show, I then taped the forward edge in place, marked the aft edge, and cut and trimmed that. The 3rd pic below shows me checking the fit during one of the trim sessions.
I then taped the whole canopy in place, marked and cut the two bottom edge lines. We were running out of time, so the starboard side has only been cut; not final trimmed yet.
|
|
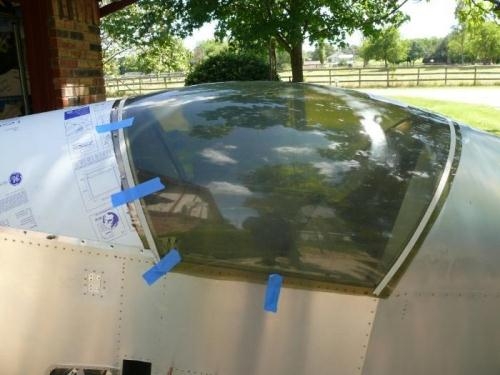
Front edge trimmed, aft edge taped
|
|
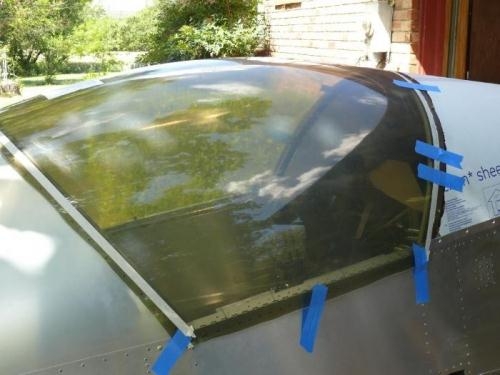
Fwd edge trimmed, aft edge taped, starboard side
|
|

After the aft edge cut, checking the fit
|
|
|
|
|
|
|
|
|
Copyright © 2001-2024 Matronics. All Rights Reserved.
|