
|

|
|
|
Zenith CruZer & Sonex Logs
|
Date: 2-14-2009
|
Number of Hours: 3.00
|
Manual Reference: SNX-W04
|
Brief Description: Left Aileron SubAssemblies
|
|
Worked several subassemblies in preparation for left aileron assembly.
Cut the previously-measured lead counterweight. Some folks have used the bandsaw, others have used a hacksaw. I used the bandsaw. I had it equipped with an 18 tpi metal-cutting blade last spring, and was getting ready to replace it, so I didn't care if the lead ruined the blade (didn't think it would, but was nice to treat it as a disposable). All I can say is take it slow. It cut relatively straight (straight enough, anyways), but jammed the blade occasionally. I used a very small screwdriver to wedge it open and kept cutting. Lubed frequently with candlewax. Was surprised that at the end, I had two pieces that were almost identical.
Positioned the lead between the two counterbalance brackets. Clamped tightly, and pilot-drilled the holes as marked by the brackets. The plans say to drill 1/2 way thru, then turn over and finish drilling. This is advisable. The bit tends to bind around the 1/3 way point; had to manually extricate the bit from the material several times. After pilot-drilling, you step-drill up to 3/16 in order to support AN3 hardward that will secure the weight to the brackets on each side. DO THIS BEFORE you attach the brackets to the ribs.
Measured and fitted the aileron drive plate to the end rib to form subassembly SNX-W04-05L. Pilot drilled, and final drilled. (Picture not shown).
Fitted the counterbalance brackets to the associated ribs to form SNX-W03-03 subassemblies. Have not up-drilled yet, because SNX-W04-09 channel assembly must be first fabricated and riveted to the two bracket/rib subassemblies.
Cut SNX-Z02-03 angle stock down to size for the two halves of SNX-W04-10 & -11. These are riveted together to form SNX-04-09 channel subassembly, which fills the gap in the edge of the aileron where the counterbalance assembly protrudes. Deburred, measured carefully (must be 1" wide to match the counterweight width), pilot drilled, and final drilled.
|
|
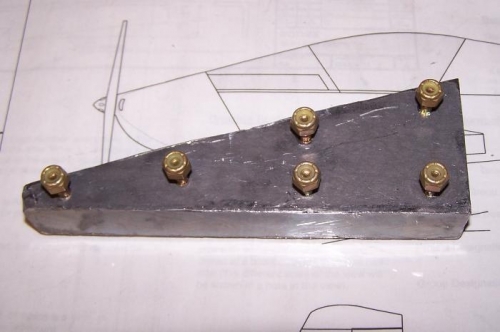
Lead Block, cut in half, drilled
|
|
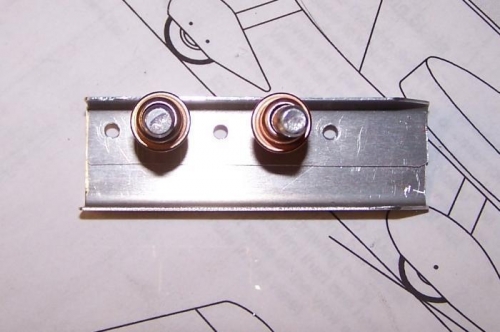
Channel Assembly; goes between counterbalance ribs
|
|
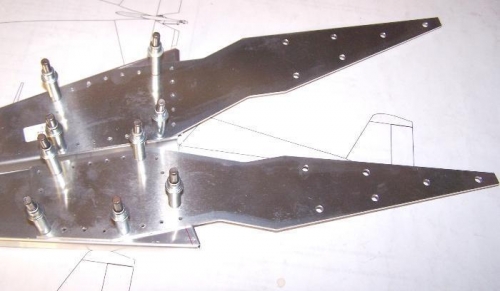
Counterbalance brackets cleco'd to ribs
|
|
|
|
|
|
|
|
|
Copyright © 2001-2024 Matronics. All Rights Reserved.
|