
|

|
|
|
Zenith CruZer & Sonex Logs
|
Date: 1-25-2009
|
Number of Hours: 4.10
|
Manual Reference: SNX-W07
|
Brief Description: Landing Light Bracket / Reposition LE Skin
|
|
Started off by cutting the Duckworks Aviation Light bracket down to size (it comes for the length of an RV, but it's a simple matter to cut and rivet). Flattened the inboard lightening hole flange (1/3 of the circumference) to accomodate the light bracket. Made up the template for positioning the bracket mounting holes (pasted the template to card stock). Positioned the template, marked the holes, and drilled to #30. Then positioned the nutplates into position (2 per side), drilled to #40, and riveted with 3/32" rivets.
Trial fit the light bracket. Clamped in place. Drilled pilot holes to rivet the two halves of the bracket together. Re-tested the fit. Up-drilled to #30 and riveted. Screwed into position. The bracket has large holes for mounting. It's held in place with AN3 screws thru large flat washers, allowing the user to position the lamp as desired.
Installed the conduit for my wiring. Routed it behind the landing light for obvious reasons.
Re-installed the LE skin, both sides. Held in place with #30 cleco's. You *can* wait to cut the landing light hole until after riveting, but I'm going to do it with the skin just cleco'd in place to avoid having to drill out who knows how many hundred rivets in case I mess up. What faith?!
Cut out the landing light cutout template, positioned into place, and drew the outline of the opening onto the skin.
|
|
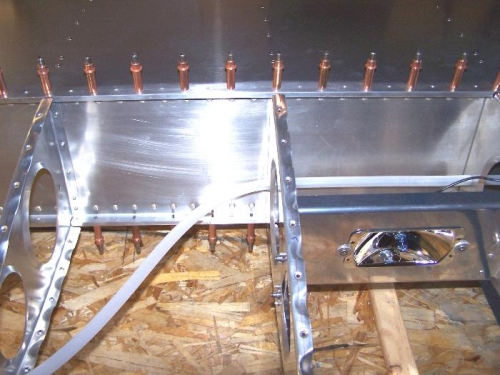
Installed Lamp & Bracket / Wiring Conduit
|
|
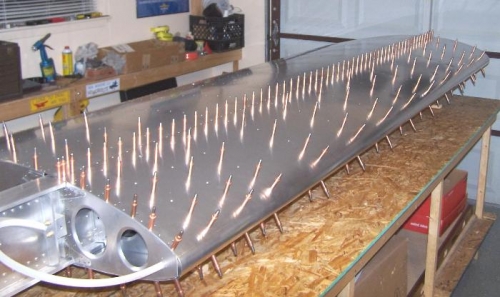
LE Skin Cleco'd in Position
|
|
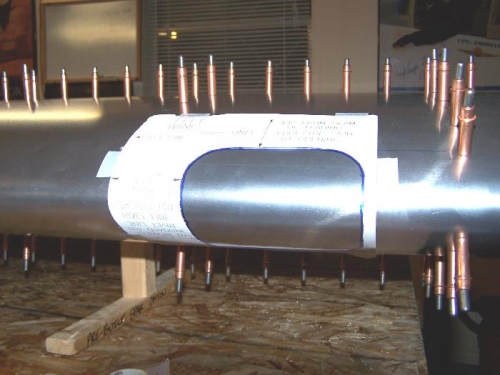
Positioned Template for Landing Light Cutout
|
|
|
|
|
|
|
|
|
Copyright © 2001-2024 Matronics. All Rights Reserved.
|