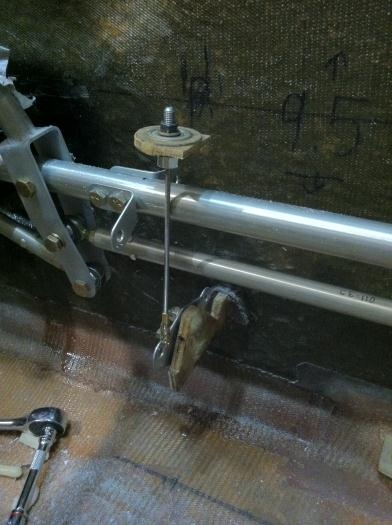
...ok bare with me here. I have not worked on this roll trim design for almost 4 months, not because I put it aside, but because for 4 months I've been researching how in the WORLD to do this. The space I have to work with inside the console is REALLY tight and parts that are both durable and small are hard to find. Not to mention I had NO success finding a build log from another builder who has built this type of trim system. So I almost gave up on the idea until I started flying my RC airplanes again. I went to bolt the prop to the motor and there it was....the missing link!.... a collet prop adapter. Here's the setup from the bottom up:
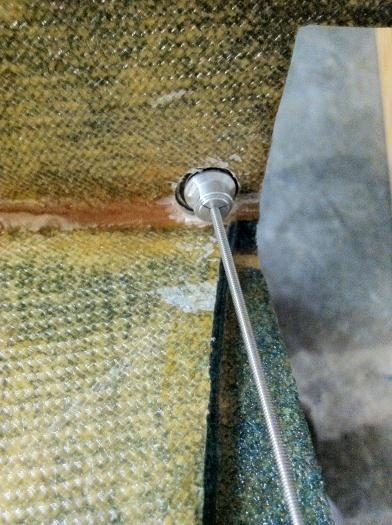
1. A Dubro 4-40 Gold Clevis attached to the trim system bellcrank. This piece is threaded. 2. SS or Titanium 4-40 threaded rod threading into the Clevis. 3. The threaded rod goes up 3.75 4" then into the 2.3mm to 5mm prop adapter 4. The prop adapter's 5mm shaft passes through a phenolic pulley who's bearing has been slightly bored out to accept the 5mm shaft. ( this was a pain ) 5. The phenolic pulley is trimmed to about a 1" diameter and floxed into the console directly above the trim bellcrank. ( this is very import to keep straight up and down so that the threaded rod doesn't bend under load. ) 6. Finally a thin washer and nut is threaded onto the top of the 5mm shaft and tightened down.
Now there is a Smooth and very sturdy bearing that will carry the loads without slop :)
What's left to do is to "attempt" to find a titanium replacement for the threaded rod though probably not needed and then find a fancy knob that will sit on top of the 5mm shaft.
Booyah! A very precise and smooth operating roll trim setup that won't be jabbing into the side of my leg :D....thanks Burt. LOL