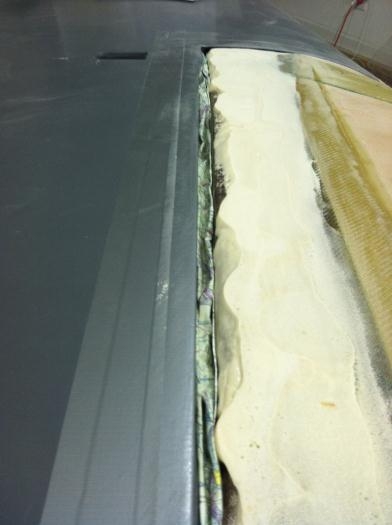
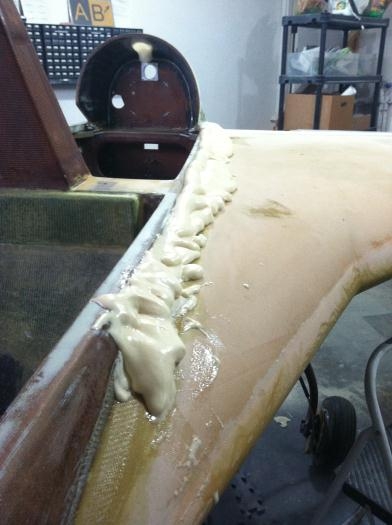
At rough river this year I saw a cozy that had the best strake to wing gap lines I'd ever seen. It was imaculate. Incredible precision with Maybe 1/16" GAP ALL THE WAY AROUND. I also noticed that there was no silicone in the gap and thought to myself, "wow, the gap is SO tight that silicone isn't even needed." You couldn't even tell there was a gap until you got real close. WAY better than trying to fill it with something, let alone that matches the paint. Anyways I am shooting for this. After last nights' x-30 session I had the idea to stuff an old sectional in between the wing/strake gap that would act as a dam. I then poured the x-30 over the gap and was now able to get a perfect gap and recession for the 1 ply glass layup. This will enable me to get that precise gap even before I remove the wing. On the outboard section I will be using Flocro instead of foam so that if the wing incidence needs to change, I will have a buildup of sandable material. I also decided to go ahead and radius the strake to fuselage intersection as well with x-30 and contour a smooth transition over the fuel return line and bulkhead. The result is great! After all was prepped I layed up several strips of 2" Bid tape over all the exposed foam. 1 ply total thickness. The goal here is the get both top and bottom strake glass work finished and filler added to contour the wing intersection before removing the wing. After the wing is removed, only minor work will need to be done prior to skim coats and primer :)
Update: I have found a fix for the wing bolt woes in using the Berkut plans for bolt retention. Life is about to get a LOT easier :)