
|

|
|
|
RV-6A - GBC
|
Date: 11-29-2010
|
Number of Hours: 1.70
|
Manual Reference:
|
Brief Description: Canopy release mechanism
|
|
Finally, after weeks of ordering tools and supplies and always forgetting to order the 'correct' drill bit, I finally received the bit today from Avery and was able to complete the canopy release link.
The 1/4-28 tap calls for a "#3" drill bit - and I had tried to remember it at the end of the day when I returned to the computer --- but it was overlooked too often. I'd had a serious concern about the drilling and tapping of the linkage because in all the aricraft mechanic's tool instructions we are cautioned not to tap the threads, aircraft bolts are rolled, not cut. And, the wall thickness 'seemed' minimal by my calculation. My faith is restored by the results.
I had some work to set up the drill press to allow a long tube to be positioned, extending several inches below the bench top. It required loosening the set-screws in the press 'head' and swivelling out to one side. Then a machinists vice was used to secure the work piece, center the bit and drill approx 2" deep in the 6061 AL tube, This press is not a lathe and the bearing is imprecise, with too much wobble for my preference. But it drilled clean, straight and centered. I then inserted the tap and hand turned the tap with a little BoeLube to cut, backing out twice to clean-out chips.
After testing the rod-end bearing for fit, I actually trimmed off an 1/8" of the tube, deburred, and re-inserted the fitting. Only then did I re-measure the desired length in-place (twice) and cut the excess tube, before drilling and tapping the opposite end. (Yes, it needs jam-nuts.)
|
|
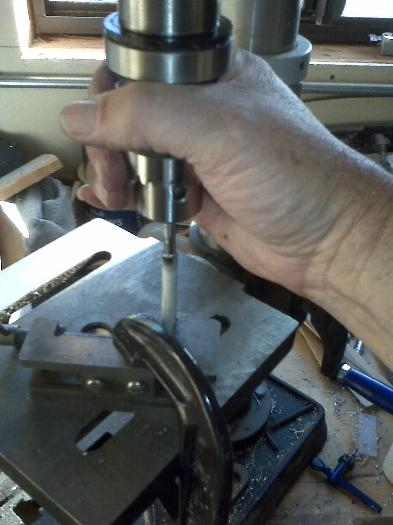
Hand tapping with press
|
|
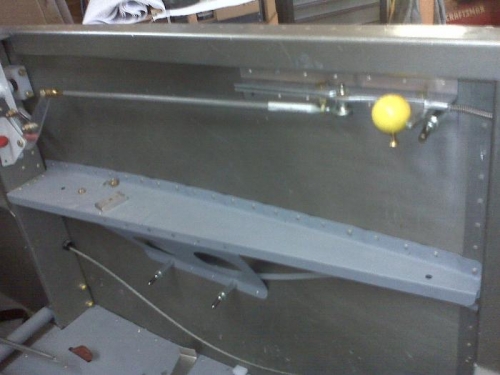
Test fit of link
|
|
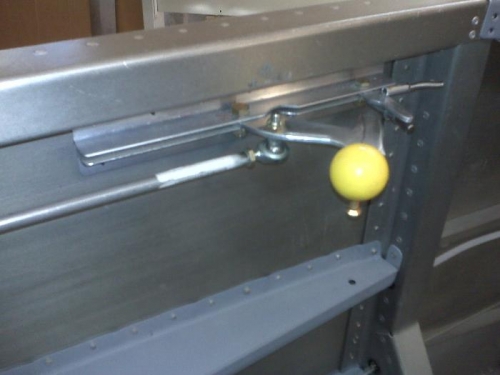
Latch released
|
|
|
|
|
|
|
|
|
Copyright © 2001-2024 Matronics. All Rights Reserved.
|