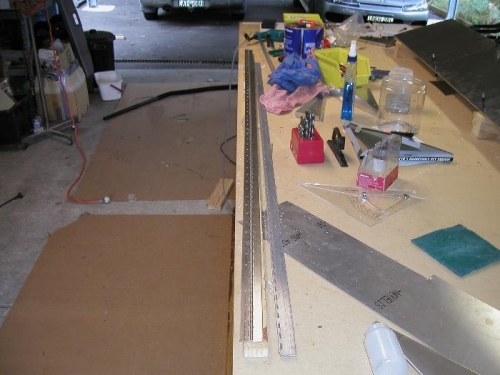
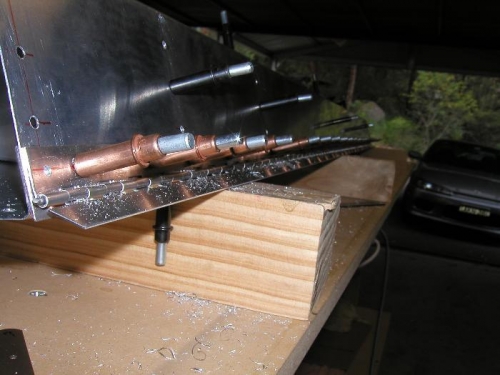
I spent the time between waiting for the glue on the car bumper to set, to back drill the flap skins with the #20 drill, lots of holes and lots of swarf. I then measured the flap hinge and cut it to the correct lenght. The hinge centre line was then marked and drilled with #30 drill (image 1), before it was clamped to the flap skin. I then back drilled the hinge into the front face of the flap again with the #30 drill. The hinge has to be located 3mm up from the bottom of the front flap skin, I took my time and made sure that nothin was moving as I worked my way along the hinge inserting cleco's as I went. You can see the off-set of the hinge from the flap skin in image 2. Once this was done I then back drilled all the holes with a #20 drill. I still need to do this to the right flap before I can start deburring and dimpling.
Hinge marked and drilled with #30 drill
Hinge back drilled to left flap skin
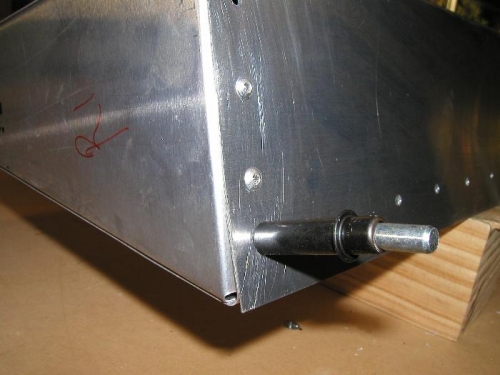
Front face riveted the cleco is there to stop me putting in a rivet before the hinge is put in place