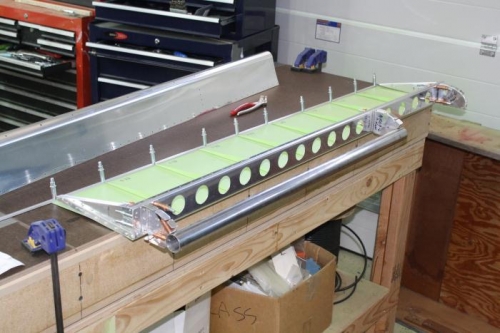
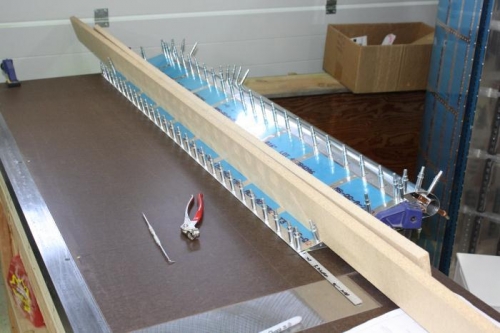
21-4: Steps 2 - 7: Followed the instructions as directed. The noteworthy information included getting the aileron flat on the build table and then match-drilling holes was the same as for the left aileron. I used the same holes drilled into the table to allow clecos through the trailing edge of the aileron but found I needed to open up the table holes from #40 to #30 to allow the trailing edge to float and lay flat. All the rest of the procedures were as on the previous day. I had minimized the skin wrinkling the same by reshaping the aileron leading edge to reduce and remove bulging.