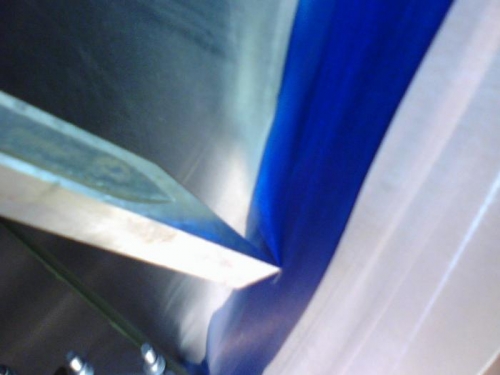
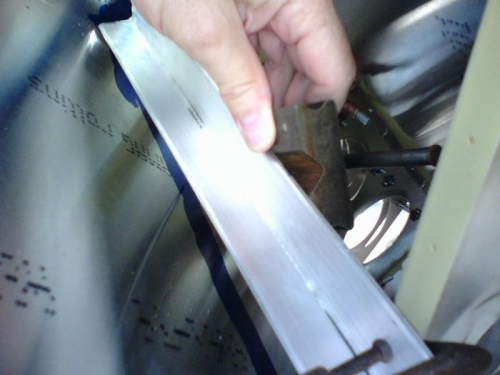
Brief Description: Wing tip layout, Scratch lines on the bluing
Make light short marks and transfer the plane to the inside wing surfaces. Image 1) shows using the Mouse.
Image 2) Using the Surface Gage. Gradually build the line by making many short marks that connect.
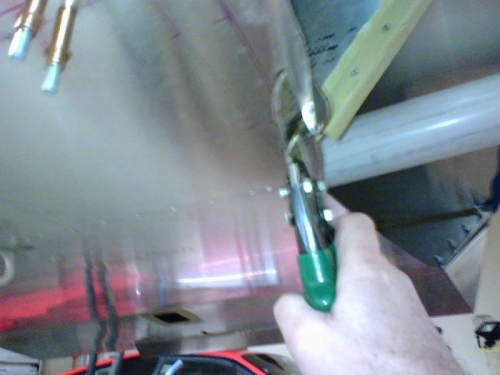
Image 3) I had the entire outside layed out to the print. The upper skin layout was identical to the inner skin layout. The trim on the lower LE edge will deviate from the print because we are not using the fiberglas wing tips.
I trimmed the entire wing tip end to the outside layout, from the print, and will re-check my inner layout and trim the lower LE and bottom skin tomorrow.