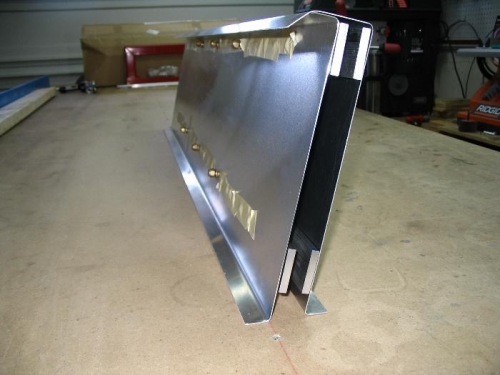
Brief Description: Center Spar drilled and aligned
It is remarkable how the mind works while we are sleeping. After just five hours of sleep, I awoke with a clear picture of how to complete the assembly. The steps that worked for me were: (1) match drill (bit D) and ream the 1/4" bolt holes in the spar caps; (2) separate the caps and place them in the correct relative locations on each web; (3) tape the ends of all spar caps to the webs: (4) separate the two webs and lay them web-down to allow back-drilling through the spar caps; (5) back drill (bit D) and ream out the the web through the caps; (6) insert bolts for precise alignment of caps & webs; (7) while in this alignment, back drill the web through all rivet holes; (8) insert rivets for alignment and tape the heads to the outside of the webs; (9) with bolts through the front web only, stack the front spar caps on top of the bolts and rivets; (10) add spacers, (11) fit back spar caps over the rivets in the back web and tape the ends to the spar to allow you to turn it over; (12) invert the back web & spar caps and slide them over the spacers & bolts. You're done with this phase of the project. For me this worked like a charm. NOTE: Reaming is no big deal. Be sure to under drill the first hole by no more the .007". For instance, I used a size D bit (.246") before reaming with a 1/4" (.250") hand reamer. If the difference between the first bit and the reamer is greater, it will bind badly or not work at all. Be sure to use cutting oil liberally and work slowly and you will get great reamed holes. I got my hand reamers from McMaster-Carr.
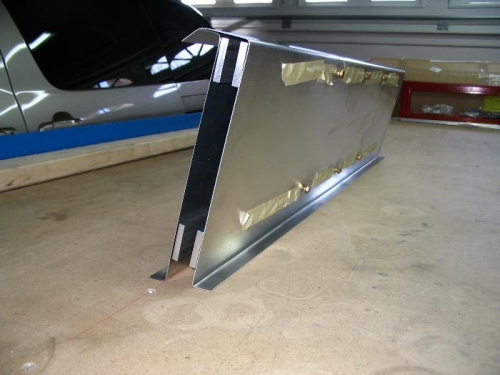
Back side of the center spar
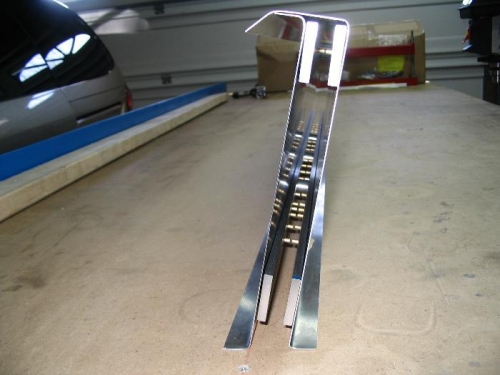
Front side. Notice the basic angle of incidence that this center spar sets for the OB spars.