Brief Description: Final drilling on right aileron
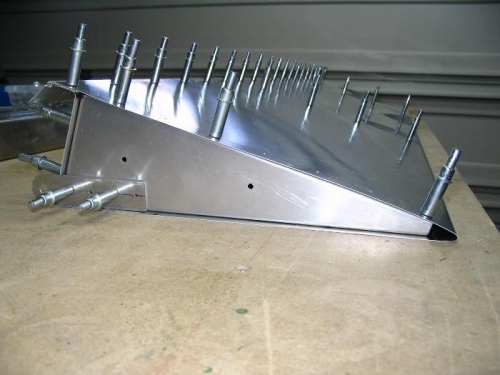
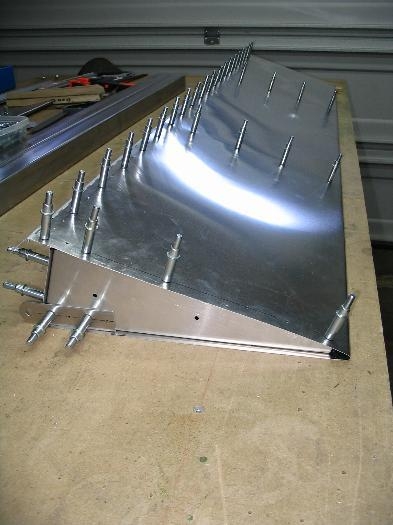
After marking the middle of the rib flanges, I placed them in their correct locations. Unfortunately the 2nd and 3rd ribs (from the inboard side) were slightly long and needed to be trimmed. I placed them and made a mark for each end hole (closest to the trailing edge), removed the ribs and then measured a minimum edge distance from the actual hole. I then trimmed back to this line. In this way I was able to safely shorten the ribs and they fit better the next time. I then pre-drilled the ribs (front, bottom, then top) using the 13mm spacer appropriately at each step. To provide the most stable work surface and to protect the clecos, I used my steel beams and placed the spacer between the beam and the workbench. Next I cut the hinge to length, placed it, double and triple checked my washout spacing and then drilled. As a double check I removed the clecos from the bottom side and placed the aileron on the workbench to check washout. It was perfect!