Updrilling the spar attach blocks outside the plane worked out great. I was able to use the drill bushing to keep the 1/4" drill bit centered. Unfortunetly, the double margin drill bit just wasn't long enough to drill through the vertical attach angle, so I had to use a longer regular 3/8" drill bit. Since I didn't want it to enlarge the attach block hole, I used as much pressure as I reasonably could so the bit would emerge with minimal spinning.
The drill bushing required a little resizing of the OD in order to fit, but I was able to chuck it in a drill, and use sand paper to slowly get it to the perfect size.
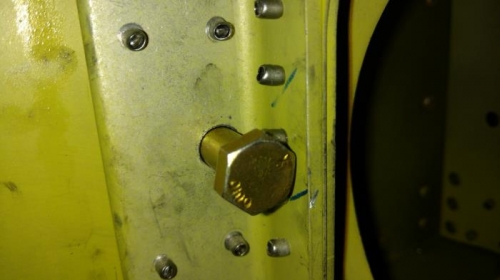
Since the fuselate narrows as it extends toward the nose, the holes in the forward vertical attach angles were very close to the radius of the angle. This required that I reverse one of the rivets on each side. Since I didn't want the bolt head riding on the angle radius, I got the okay from Sonex tech support to grind the edge of the bolt head on one side.
The bolts then required some light tapping with a mallet to get them through.
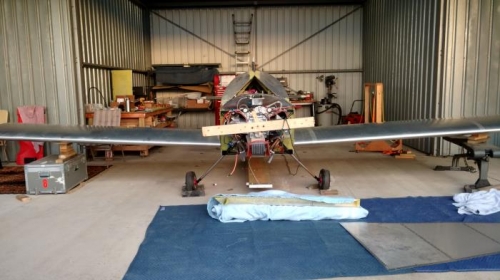
I tested their fit by lightly shaking the end of the wings. The was absolutely not play. I'm very happy with the end result using the double margin drill.
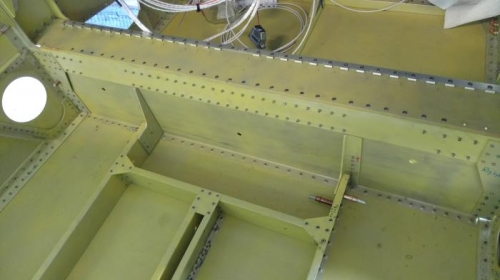
Being able to rivet the spar tunnel closed was very satisfying. It meant that I completed one of the steps to building the Sonex that I was most concerned about. I've read horror stories about builders having to remake there attach block and vertical angel multiple times due to the holes wallowing.
Updrilling the spars to 3/8" outside of the plane is definitly the way to go in my opinion.