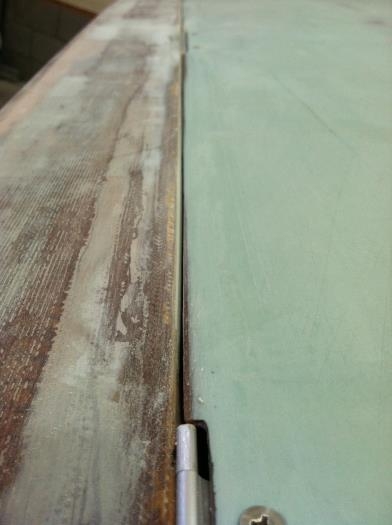
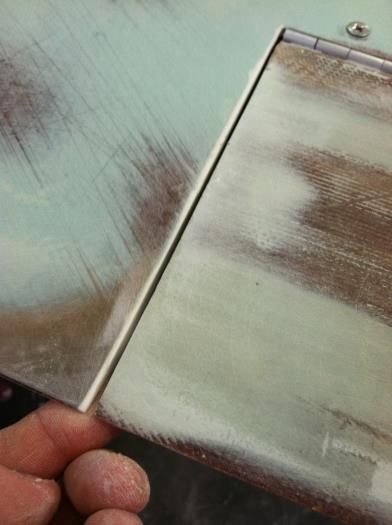
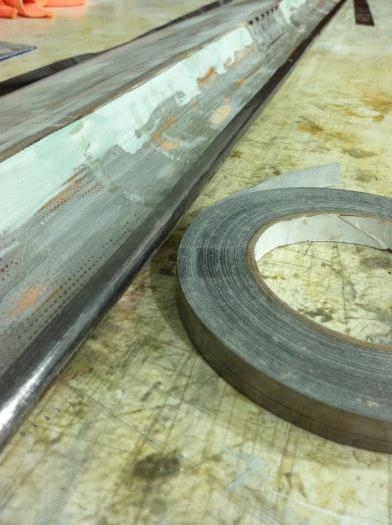
I installed the aileron 1 more time in order to check fit and flushiness :) and am VERY pleased at this stage. The WInglet skim coat is curing so it was a Great time to start finishing the aileron. Priority #1: Balance the dang thing. The dry weight of the aileron before finishing work was 5.25lbs. Pretty light. However it was way out of balance. In fact I had to add.....get this....36 YARDS of lead tape to the leading edge to get the OPTIMUM balance of top skin level. Rutan doesn't require that the aileron be balanced this way, however reports of flutter have been cured when the top skin is level, so I'm headed that way. Step 1 was to add several strips of the 1/2" led tape in a way that wouldn't interfere with the aileron movement and throws but at the same time be as far forward as possible to reduce uneeded weight. After all the tape was down I re-installed the aileron and found everything to work perfectly! In fact I have at LEAST 25 degrees in both directions which is more than enough throw. I then removed the aileron, taped it off, sanded the lead and skin, cleaned it up, and spread a thin layer of pure epoxy over the entire surface. I "Could' have laid up 1 ply BID over the lead but it had a sticky back film that was REALLY sticky and combined with an overlapping layer of epoxy, it should go anywhere. PLUS, that layer of BID could have cause binding issues. When all is said and done I believe that the aileron should weigh right at 7lbs or less painted and ready to fly. Not the lightest aileron but definetly lighter than some I've seen and definitelty balanced correctly. I'm Happy!