
|

|
|
|
Jims RV-8
|
Date: 12-20-2020
|
Number of Hours: 1.20
|
Manual Reference: 7-10
|
Brief Description: Prep work to rivet bottom wing skins
|
|
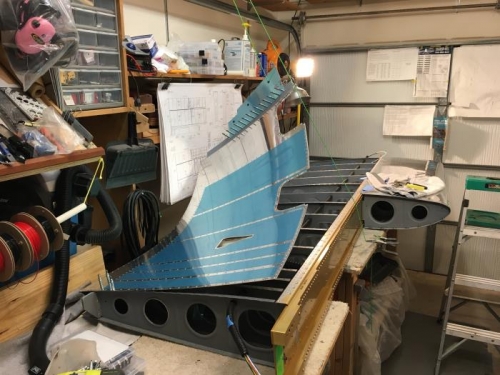
In order to rivet the bottom wing skin, one must start at the rear spar and rivet in a “L” pattern. This is because the rivets are on the inside of the wing and must be accessed by reaching in thru the open end of the wing that hasn’t been riveted yet or by reaching thru the lightning/access holes for the rivets near the main spar. The plans show that since I will be reaching into the inside of the wing to rivet the bottom skin on, it makes sense to have the skin peeled up and back to allow access. Since I am starting in the rear spar corner and working up and over, I figured it made sense to peel the skin back at an angle. So with some input from Rob, who has done this solo before – I used a scrap piece of aluminum clecoed to the inner skin end, and drilled 3/8” holes, and inserted some snap bushings. This will allow me to lift the skin up and down with a rope. I will use a clamp to hold / lock the rope – and a backup clamp just in case. I thought I might need a few holes in the scrap and use a pulley system, but one hole seems to work fine. I also ran the rope up thru a hole in the garage door track support as the lifting fulcrum.
I debated whether to take the rear seat vent scat tubing off for riveting and attach it after the skin was riveted on – or leave it on and deal with it while riveting. After taking it off and then putting it back on, I decided to deal with it in the way, while riveting but then not have to try and attach it after the fact. I will let you know if this is a good idea.
|
|
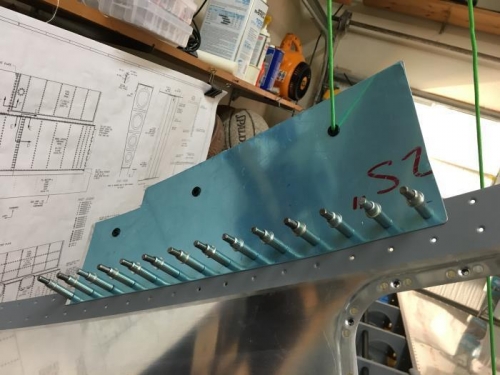
scrap, clecoed to skin end
|
|
check...and double check
|
|
clecoed - ready for rivets
|
|
|
|
|
|
|
|
|
Copyright © 2001-2024 Matronics. All Rights Reserved.
|