Continuing with the right-side panel wiring, I connected the starter power circuit breaker to the engine start button and then ran the wire to the starter contactor (S) contact. When the right-side panel is back in the airplane, I will connect all the wires when the wires are done for that circuit.
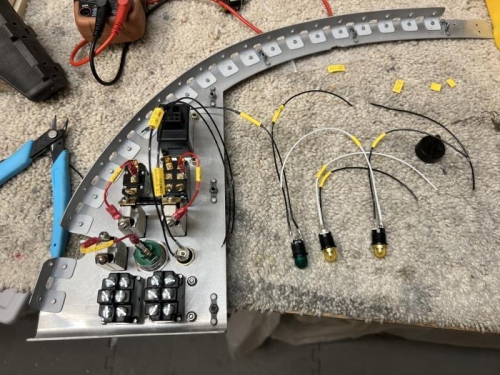
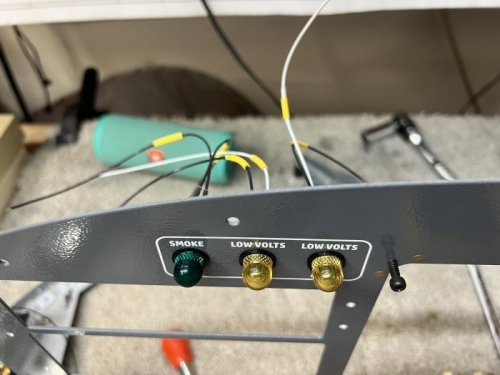
I also ran wires to the starter engaged light and decided to use knife splices for all of the indicator lights as the wires are soldered to the lights instead of using terminal connections. This will allow me to be able to remove the lights if needed or to remove the center panel as three of the four lights are on the center panel. I did get all four of the indicator lights soldered. Still, I had two do-over wires when I decided that I would rather use two white wires on the low volt wires instead of the black wire that I had just soldered - as the incoming lamp wire from the voltage regulator was already white - so I switched those two out after the fact. All wires have been labeled, soldered or crimped, continuity tested and installed where able.