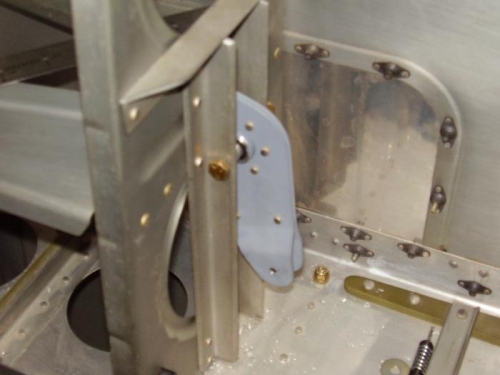
Test fitting and measuring all the wing control surfaces - Installed the W-617 aileron bellcrank by progressively drilling out the #40 factory hole, to #30, #19, #12 and finally 1/4" bits. Because of the close proximity of the wing rib and the concern for striking it with the airdrill chuck, I used the 90deg angle drill attachment with a smaller and smoother chuck. This allowed a clean straight hole.
Cut spacers to 7/16" for both sides of the bellcrank bearing but determined that these are slightly long, because the 5706-95-30 (?) washers won't fit yet. Will shorten both spacers by the washer thickness and try again. (#1)
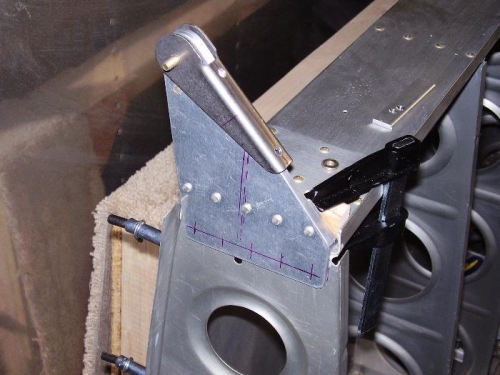
Clamped the W-414 and W-406 outbd aileron attach brackets to the rear spar and against the end rib (W-411B). Approx adjustment so that the pivot point is 1 5/8" from the chord line. (#2)
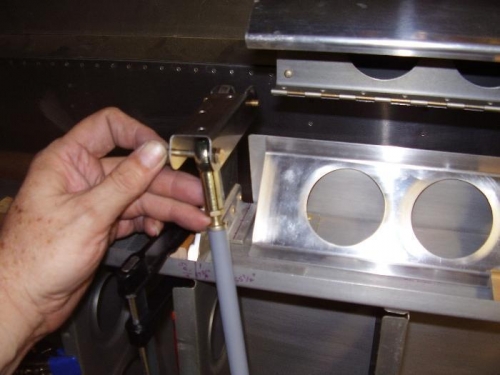
Clamped the W-413 and W-407 inbd aileron attach brackets on the rear spar at the 56 1/2" mark from the wing root. Fabricated spacer for the W-407 ... will have to adjust spacer length slightly for washers. Clamped the flap brace on the lower skin at the 55 1/2" mark and even with the wing root. Fabricated the approx length of the aileron pushrod (19") and test fit to the W-407 and W-417 bellcrank. Probably needs to be closer to 18 1/8" long.