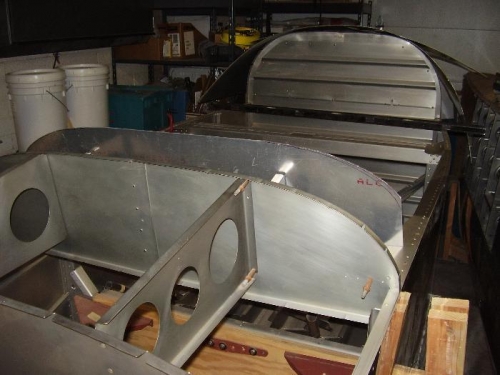
Used a 'fly-cutter' on the drill press to cut lightening holes (5" dia) in the center of the 'factory' fabricated instrument panel 'ribs'.
Deburred with the swivel tool and 'red' ScotchBrite pad. Removed protective vinyl - surprisingly clean after 9 yr in a hanger.
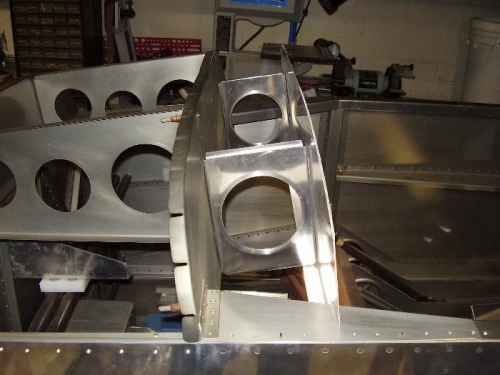
The photo (#1) shows the F-603 instrument panel after preliminary fabrication. Guided by the information on Dwg# ... the instrument panel sides were 'notched' to fit around the F-621B side braces. Then used the F-621B channel to make final adjustments to the cut-offs.
Using the 'line' of the firewall and F-603 bulkhead, scribed a preliminary 'cut-line' with a Sharpie on the forward side of the instrument panel. Using this 'cut-line' allowed removal of excess material and get an approximate shape of the top edges.
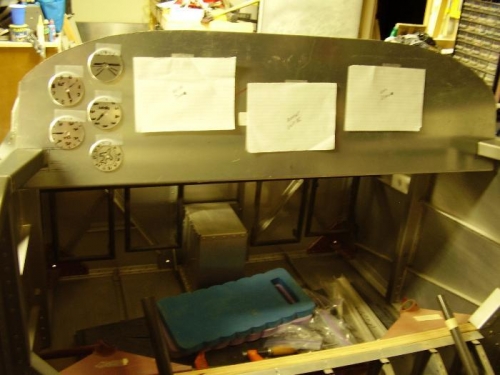
I was then able to use Dwg # ... to layout a grid of 1" intervals on the forward side of the panel to refine the final shape. This Dwg included the 'height' of the panel at 1" intervals and a freehand line can then be drawn between each point. Additional shaping will occur with the finishing kit and tip-up canopy are being constructed. For this reason, the panel was left "proud" to allow trimiming.