Brief Description: Lining up and back drilling the bottom skin on the
I lifted the bottom skin into place by basically lifting one end and supporting it with my other hand whilst sliding it into place, again its flexes enough that this is not an issue. I then lined it up with the rib station reference marks I had measured and marked before the skin was lifted into place. Once I was happy with the alignment the skin was clamped at the rear and I proceeded to back drill the ribs, working from inboard to outboard. It took lots of fiddling to line the rib centre line marks with the the pre-drilled holes in the skin, but with the use of a long stick that had a hook on the end it was managable. The tip section of the main spare and the bottom skin are still not attached, I need to do a bit more reading to determine what the next steps should be, although I an leaning towards starting to dimple the bottom skin. However I still need to cut the aileron access holes and I am sure lots of other stuff needs to happen. Befroe I do anything else though I need to go back over the entire bottom skin and back drill with a #20 drill bit to achieve the correct holes size for the A5 rivets.
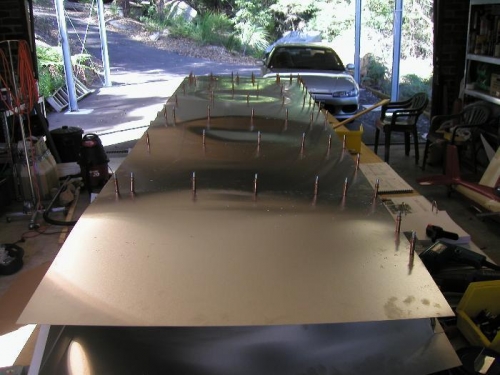
Bottom right skin lined up and clamped in place ready for back drilling
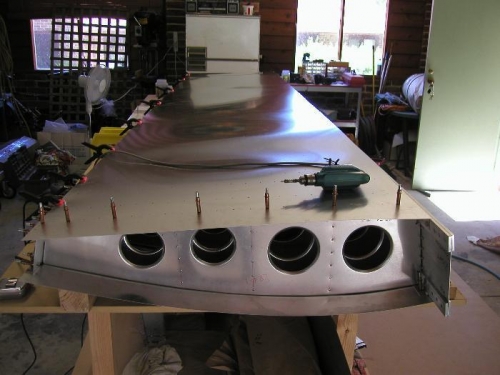
RR#1 back drilled with a #40 drill
The bottom skin has now been back drilled with #40 and some #30 holes