Brief Description: Attached HS, Elevators, VS, and rudder
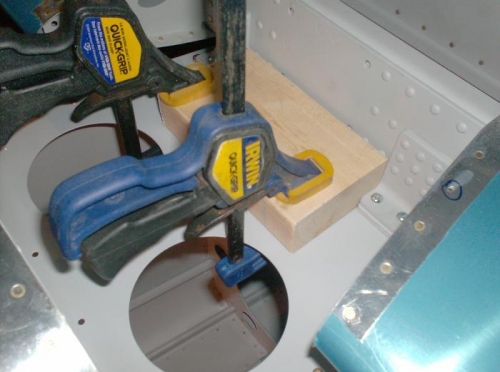
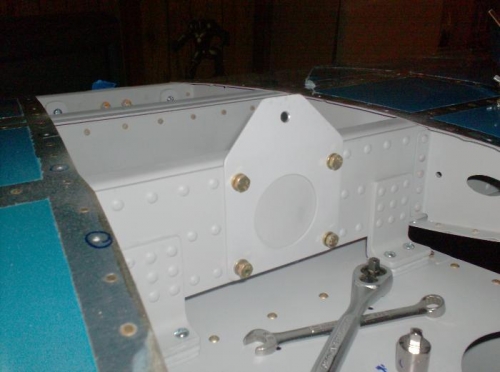
Began the long awaited moment of attaching all of the contructed components to the tail. This will be a temp install as I don't have the space to leave everything assembled together nor can I move it assembled out of my basement. OK so I made a spacer block out of a 2x4 to align the HS square to the tailcone prior to match drilling the HS attach brackets to the rear deck. After jocking the HS around a little I finally got the measurements from each corner to the centerline rivet hole I had picked as a reference equal indicating the HS was square to the tailcone. I then drilled the brackets, insereted my temp hardware store bolts and then attached the VS attach bracket (you can see that in photo #2). The next step was to install the VS which involved more drilling and CSK'ing the bottom 2 holes. Finally the elevators were hung followed by the rudder. Low and behold, everything swung free with no binding and good alignment! The only issue I have is my rudder travel is more than optimal. When you take a measurement from the inboard egdes of both trim tabs when the rudder is deflected to that tab, the distance should be around 2 3/16". Mine was more like 1 3/4" indcating the rudder is swinging more than the desired 35 degrees stop to stop. The fix is to take the rudder off and screw in the bottom bearing to draw the rudder closer to the tailcone and therefore closer to the rudder stops which will act to increase the distance of the rudder to the trim tab when the rudder is fully deflected. We shall see.