
|

|
|
|
TODD'S WEB SITE
|
Date: 2-12-2013
|
Number of Hours: 1.00
|
Manual Reference: Sec 44
|
Brief Description: Initial wing install
|
|
First, in prep for the install, I completed the fitting and install of the fairing supports and a whole bunch of nutplates. I also had to bevel the bottom corners of the center section bulkheads so they don’t snag the wing bottom skins when you slip the spar in between the bulkheads. Why the plans don’t have you do this way back in Section 25 when it’s a whole lot easier is beyond me. The wing attach itself was a 2-part process--an initial install and a final install. The initial install was done with the help of my wife. Basically, we took the wings and placed them on saw horses more or less where they needed to be in relation to the fuse. I then hooked up my engine crane to the wing root and removed the inside saw horse. I then jockeyed the crane while Toni held onto the wing tip and together we moved a wing into position so that I could temp bolt it in place with some of the same hardware store bolts that I had used during fuse construction to hold the center section bulkheads together. I did however modify the bolts into pins by grinding off the threads and rounding over the tips. Once both wings were “pinned”, I got to work on drilling the rear spar and bolting it up – that was straight forward. With the wings now firmly attached, I hooked up the ailerons and push rod assembled and began the rigging process. I installed the control sticks with the bellcrank jig installed got everything aligned to neutral. Turns out my left aileron was about a ¼ inch low, so I opted to adjust the pushrod. That was a little sporty, but I got the job done. The next step in the plans was to bend the fuel line and attach it to thewing. Well, in reading ahead, I decided to bend and flare the lines prior to mounting the wings due to the small working space once the wings are attached. For once this turned out to be a good call. The only concern was whether my bends, which accuratelymatched the bend template I made, would actually mate up the fuel tank nipples. Amazingly they turned out perfect! With a big sigh of r
|
|
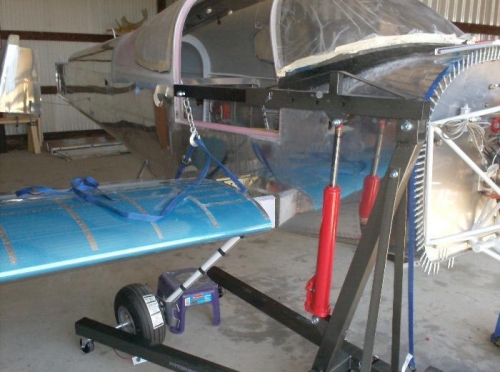
Root held by engine crane
|
|
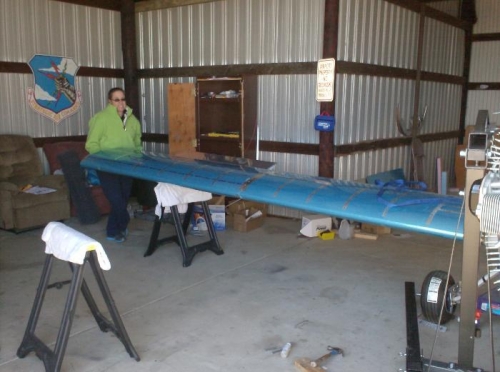
Toni holding the tip in position
|
|
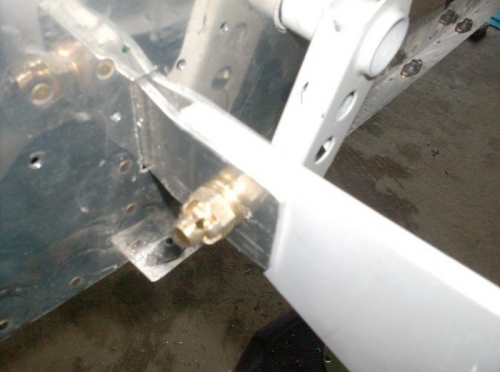
Rear spar bolt installed
|
|
|
|
|
|
|
|
|
Copyright © 2001-2024 Matronics. All Rights Reserved.
|