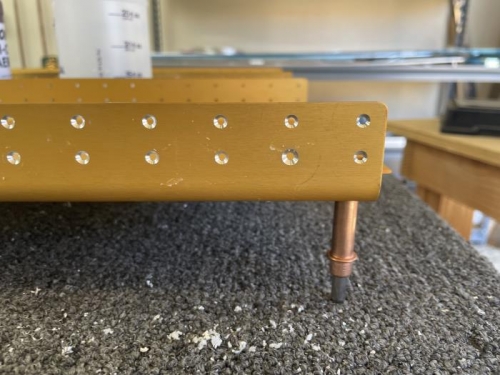
The only thing left on the RH upper flange was to CS all of the remaining rivet holes where skin will attach. These were set to 0.007 in. under flush because a dimple will fit in the CS. I started on the wing tip with my CS that I thought was already set, but it was way under flush from doing the #6 screw holes. It's in the 1st image, bottom row, 2nd from the right. I sits 0.028 in. under flush. It isn't knife edged fortunately. The fix is to fabricate a countersink washer from a AN426AD4. It's a pretty common fix in the MRO world for big airplanes. I'll run it by Vans tech support to see if they have a better idea.
Bonderite was applied to each new hole with a Q-tip and rinsed throughly. This completed all the operations on the RH upper flange.
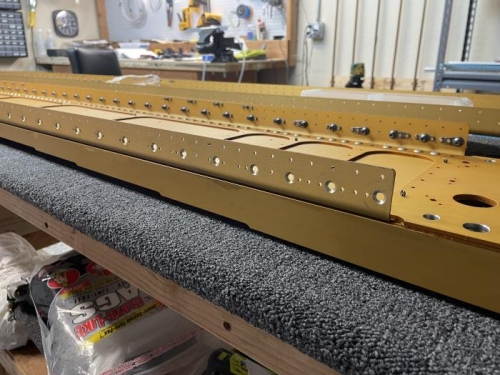
I took the angle I used as a backing for the upper flange and flipped it so the undrilled upright was against the lower flange. I repeated the same process to create a backing panel for the #8 screw holes. All the countersinks were completed without drama and they were high quality. Applied Bonderite and called it a day.
Remaining work is to CS all of the non-screw holes appropriately (flush and 0.007 in. under flush depending on location) and apply Bonderite to the holes that take dimples. Also need to install the nutplates for screws.
RH upper flange @ tip. I went too deep on one CS. Fix will be a CS washer I'll fabricate.