Brief Description: Right Aileron TE Proseal and Clamp
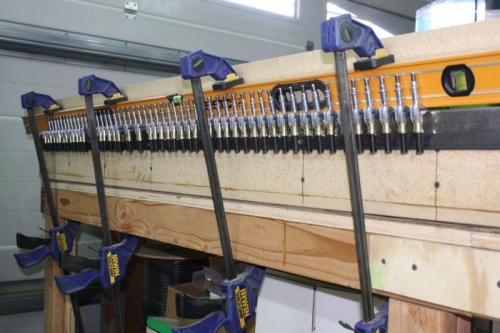
21-7: Step 5: Prosealed and Clamped the Right Aileron same as Left only applied a thin coat of Proseal slightly thicker than on the Left Aileron. The results were much the same. Again, I clamped the TE with edge clamps but first roughed up the inside jaws with 220 sandpaper so they would not pop off the TE some time after applying. The Left Aileron shed about a half a dozen clamps a few hours later. This time the clamps stayed put. Used long level to lightly clamp the TE to the table to ensure it stayed flat on the angle iron. 21-:8: Step 1: Fabricated A-1012 and A-1013 spacers per the drawings.
Light clamped to table
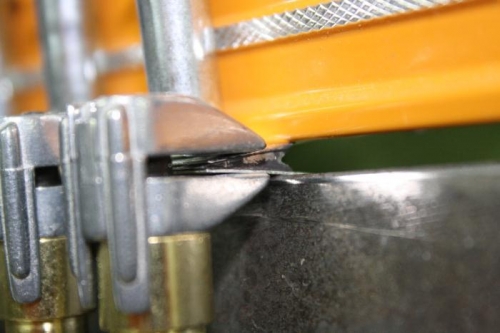
Little more Proseal seeped out on the right alieron