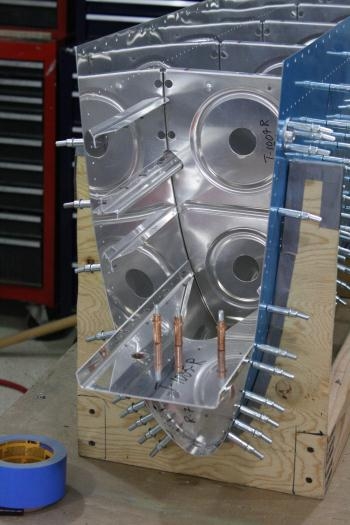
Brief Description: R Tank Stiffeners and Rib Assembly
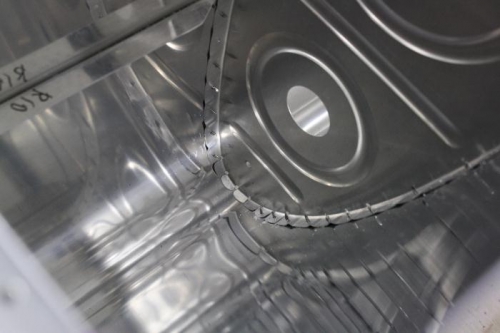
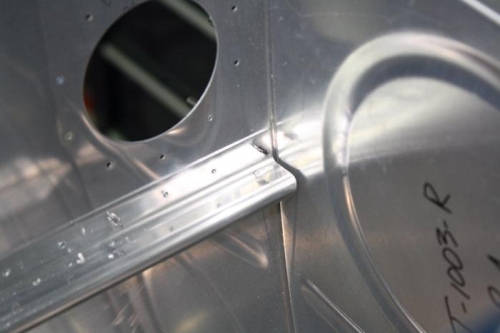
18-2: Step 5: Removed vinyl film from inside R-Tank skin and deburred edges. Final drilled tank stiffeners and trimmed two lower inboard stiffeners per the plans. Step 6: Clecoed Tank Outboard End Rib, Inboard Rib - Fwd, and Tank Interior Ribs. Ribs were rechecked for straightness and refluted where necessary. Checked top and bottom nose flange holes for alignment in straight line and used these comparisons to adjust fluting until straight and rib was flat. Polished rough nose edges with buffing wheel to remove proud metal at bend seams. Assembly at this point was much easier without as much coaxing to get ribs into position. Bottom of ribs were clecoed first outside of leading edge cradle then placed in cradle for the upper surface cleco. Started clecoing at aft rib holes first with rib rotated slightly to the side until the first or second clecos were in place. Then using a small rubber mallet, the rib was tapped gently in place and the rest of the clecos were inserted. I may need to go back to the left wing and check nose rib hole alignment fore and aft on the flange and make similar adjustment. 18-3: Step 1: Fitted the Tank J-Stiffener to the Tank skin as before. An exact length of 64 1/4 inches long indeed was right on the mark with regard to length of the J-Stiffener which yeilded exactly 1/4 inch from end holes to end of J-Stiffener. Drilled with #40 bit. Step 2: Clecoed T-1005-L Tank Attach Bracket to skin and Inboard Nose Rib. Final drilled with #30 reamer and #40 bit.