Brief Description: Left & Right Spar Lower Flange Countersink
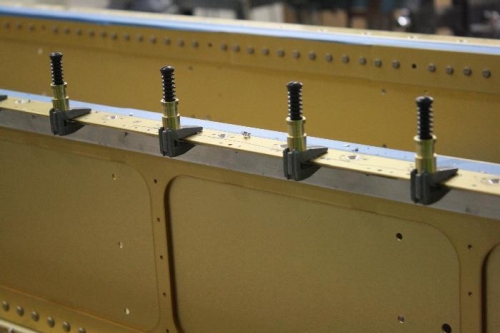
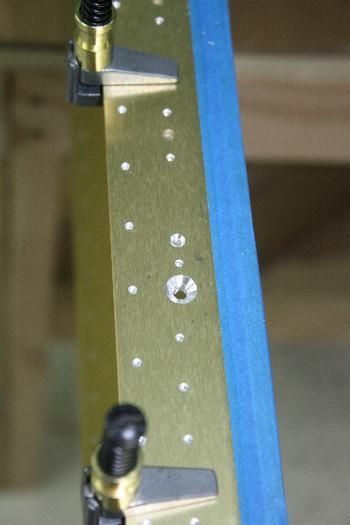
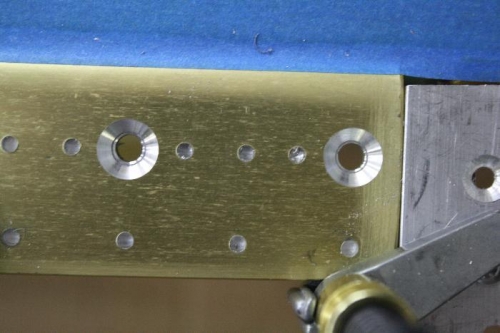
13-3: Step 1: Match-drill all 3/32 holes with #40 reamer except those holes already done. Step 5: I did these steps out of order since I elected to use an aluminum angle below the flange when countersinking the fuel tank attach screw holes. I did not like the idea of using a #30 pilot c-sink cutter centering on the install nutplates. The angle gave a solid guid for the #19 countersink cutter I had. Just had to match drill the aluminum angle with the flange before hand. The countersink work was very consistent and clean. Step 2: Machine countersink the nutplate attache rivet holes in the flanges of both spars. Step 3: Machine countersink the skin and rib attach holes to accomodate a dimpled .032 thinkness upper and lower wing skin. I foun this took about 7 to 8 thousands deeper a cut for this thickness of skin versus a standard countersink for a regular AN426AD3 rivet. Step 4: Skip until we spot prime spars.