
|

|
|
|
Cowboy's RV-10
|
Date: 1-16-2010
|
Number of Hours: 9.70
|
Manual Reference: 10-17, 18, 19, 20
|
Brief Description: Rivet Bellcrank, Batt Mount, Bulkheads, Bottom Sif
|
|
10-17:
Step 4: Rivet Elevator Bellcrank Assy
Step 5: Rivet nutplates on Battery / Bellcrank Mount
Step 6: Rivet Battery Channels to Battery Tray
10-18:
Step 1: Rivet F-1012A & B Bulkheads
Step 2: Rivet F-1011 Bulkhead
Step 3: Rivet nutplates to F1011E Rudder Cable Angle.
10-19:
Step 1: Rivet nutplates to F-824B Cover Plates
Step 2: Rivet F-1010 Bulkhead.
Step 3: Rivte F-1008 Frames.
Step 4: Install -7 snap bushing in F-1085 Rudder Cable Brackets.
Step 5: Rivet F-1007 Frames.
Step 6: Install -7 snap bushings in F-1007.
Step 7:Rivet F-1006D Bulkhead to F-1006A & C
10-20:
Step 1: Cleco bottom Skin, Stiffeners, and Bulkheads / Frames.
Step 2: Rivet Stiffeners to Bottom Skin. I elected to back rivet everything I could using a 4" x 16" plate which seemed to work pretty well. Although structually sound, initial shop-heads from the backriveting were not the prettiest but they got better with some practice. But I had a particularly difficult time with the bottom left stiffener F-1047F-L. I had a hard time getting the rivets to pull down straight. I ended up drilling out and replacing 7 rivets on this one stiffener.
DISCOVERY: the left stiffener was not F-1047F-L, it was F-1047B-L (top stiffener). Well, that explained it. Now, all I had to do was drill out about 50 rivets and put the correct one in place and re-rivet. That mistake took about an hour and a half to fix. I spent some time cleaning up and re-dimpling some of the rivet holes on F-1047B-L so it would be ready later (first major screw-up)
|
|
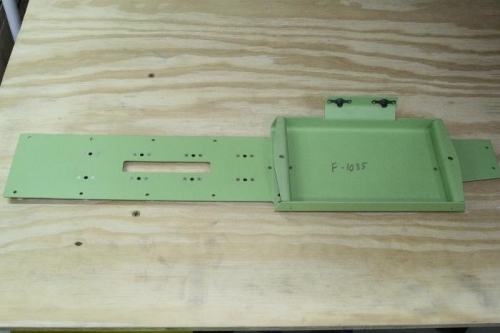
Battery Tray
|
|
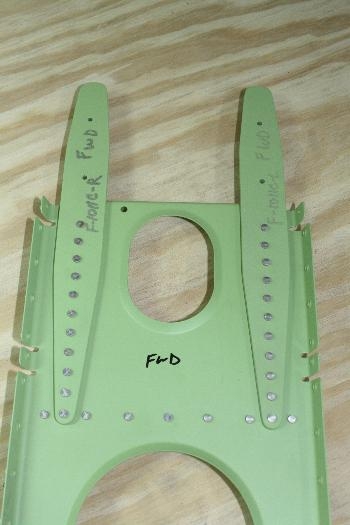
F-1011 rivets turned out well
|
|

Bottom Skin Riveted - fixed
|
|
|
|
|
|
|
|
|
Copyright © 2001-2024 Matronics. All Rights Reserved.
|