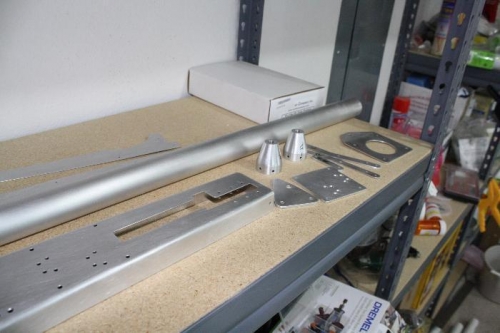
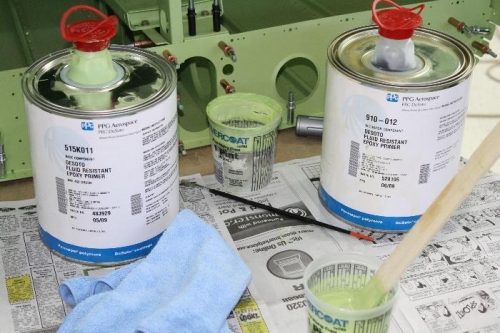
Brief Description: Drill, Debur, and Prime Trim Mount Bracket Assy
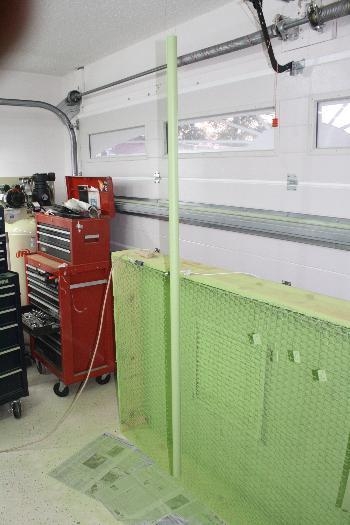
Step 1: F-1095C Trim Bellcrank Brackets provided by Full Throttle Concepts. Step 2: F-1095G Trim Cable Anchor Brackets provided by Full Throttle Concepts. Step 3: Fit Trim Servo Spacer to underside of Trim Mount Bracket Step 4: Cleco Trim Servo Spacer to Trim Mount Bracket by four corners. Cleco Trim Bellcrank Brackets into place. Match-Drill #30 hole of trim bellcrank brackets and trim cable anchor brackets Step 5: Cleco Trim Cable Anchor Brackets in place an Final-Drill #28 in the four corner holes. Machine countersink eight #30 holes in the trin servo spacer for 426AD4 rivets. Step 6: Run #40 drill through the eight #40 holse in the trim mount bracket for 426AD3 rivets. Run a #30 reamer through close-out corner flanges in the trim mount bracket. Step 7: Debur all holes and edges of all assembly parts including any left over Tail Cone parts. Prime all including elevator pushrod tube and related ends.