Brief Description: Rivet Bottom Aileron Skins, end Ribs, and C-Balanc
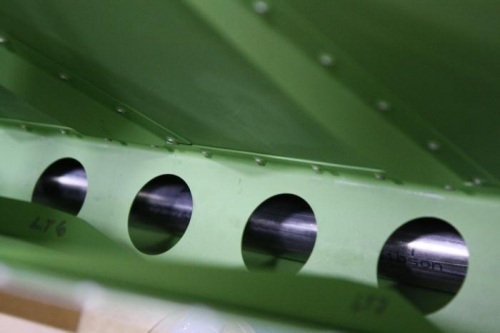
21-6: Step 2: Riveted the bottom skins on L and R ailerons. Used two different tungsten bucking bars; one longer and thinner necessary when ribs interfered and the other more of a cube. Step 3: Assembled and rivetted per the instructions. Spent some time aligning the AN3 bolt holes to insure proper alignment later. Step 4: Installed trailing edge of both ailerons per the instructions. 21-7: Step 1: L aileron only per the instructions. Step 2; L aileron blind rivets in counterbalance installedper the instructions. I did not set the edges of the rivet to match contour of rounded leading edge as I though they looked ok as is and would be hidden anyway. Step 3: Riveted L aileron end ribs - nose and main - per the instructions using hand squeezer. The Texas Hand Squeeze Yoke with no hole worked great on the Tatco squeezer for the tight areas in the main ribs. In fact, it workde better than a normal yoke with a fat die so I will just stay with it. Step 4: Fiinished squeezing the rest of the rib rivets per the instructions and quit for the night.
Instide after riveting bottom skins
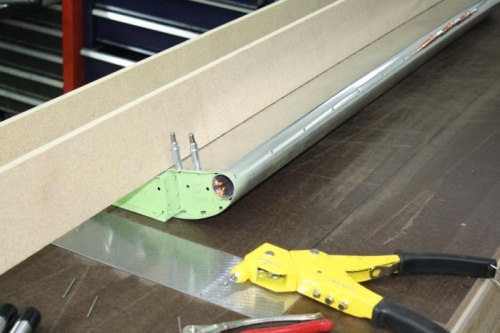
L aileron on torsion box.
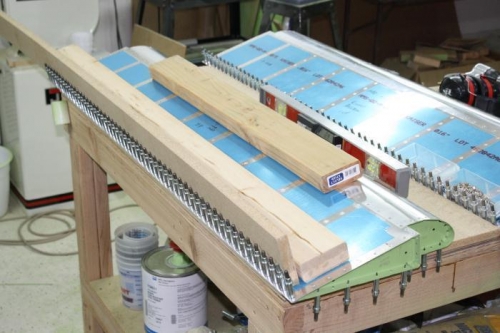
Moved to other table for sqeezing the ends since an overhang was necessary to complete.