
|

|
|
|
Cowboy's RV-10
|
Date: 12-28-2011
|
Number of Hours: 4.00
|
Manual Reference: 21-2
|
Brief Description: Begin Torsion Box Assembly Table
|
|
The Section 21 introduction discusses the importance of the aileron be kept on a flat surface while drilling and riveting. Section 22, Step 1 states the same emphasis for building the flap on a ftat work surface. I did not have a suitably flat build table for aileron and flap building other than the standard EAA tables I had built some time back. The EAA tables, bult with a good grade of plywood have taken a set over time and are no longer true without twist. Putting two of the tables together to construct an 8 ft long flap is even more problematic. So I decided to build a flat reference table for this operation. See the following link for a tutorial on how to construct one of these tables:
http://thewoodwhisperer.com/episode-18-assembly-table-torsion-box/
I have followed the general procedures and built a 2 ft x 8 ft table instead of the one in the video that is 4 ft by 6 ft which is more suitable for furniture building. I used available materials I found at Lowe's and had them rip the wood for me (help them with the measurements and blade placement so you get what you want - ask my why I know):
- 3/4 in 4 ft by 8 ft MDF board split down the middle, yeilding the 2 ft by 4 ft basic size.
- 5/8 in particle board sliced into roughly 4 in strips used for the honeycomb structure and table sides. You'll note the example in the link used 1/2 in MDB, top and bottom, 3/4 MDF on the sides, and 1/2 in MDF for honeycomb structure. Mine is thicker which is not bad to hold shape over 8 ft long but has significant mass, requiring modest muscle to move it around after construction. I elected to keep it portable without a permanent table and just place it on top of build tables when needed. I'm tall so I don't anticipate height issues. Your mileage may vary.
Put the two EAA tables together and continued to check for true, flat surface throughout. I used a hand full of door shims to level tables and bottom surface of the assy table. The use of the electronic level and 6 ft level were vital in verifying level and f
|
|
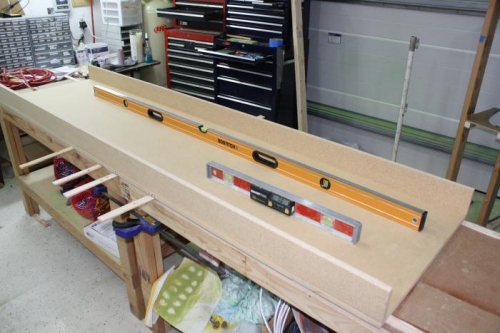
Started by getting the lower MDF true.
|
|
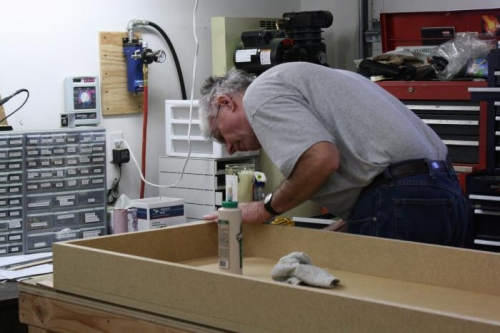
Perimeter first, glue, brads, and screws
|
|
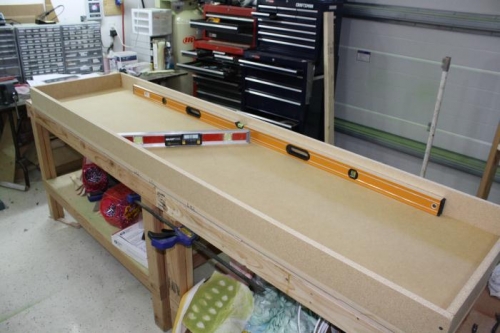
Check it remains flat and level
|
|
|
|
|
|
|
|
|
Copyright © 2001-2024 Matronics. All Rights Reserved.
|