Brief Description: Debur and Prep LE of Wings for Dimpling and Primer
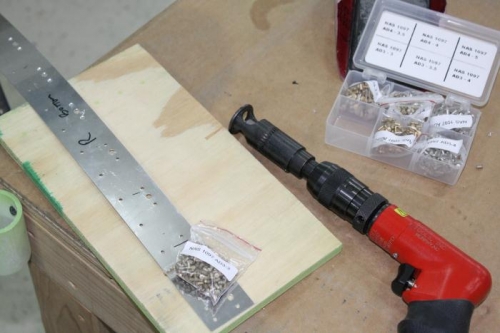
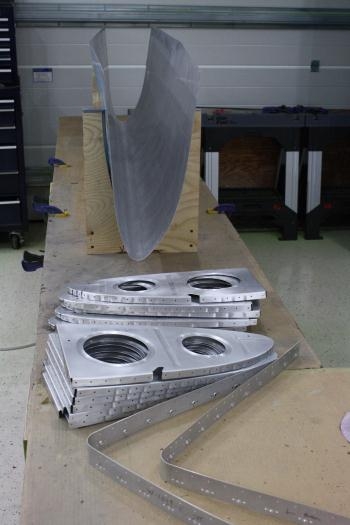
17-3: Step 7: Machine countersink the #40 nutplate attache holes in W-1019-L & R Splice Strips for NAS 1097 AD3-3.5 small head CS rivets. Step 8: Debur all holes of assemblies. Scuff parts with Scotchbrite in preparation for dimpling and priming. Found a mistake: on R-Wing leading edge, found I had reversed the W-1009-2R with the mirror image W-1009-R (the number 5 rib and the number 3 rib). I noticed the unusual hole position on the top end aft flange hole of the W-1009-2L rib. So, I reassebled the R assembly and checked all the ribs out and found only these two were missplaced. Redrilled the end holes and checked the match-drilling of the remaining holes, a few that needed to be re-matched. Step 9: Dimpled the screw holes int he splice strips for the #8 screw. I was very careful about deburing these holes per the instructions to prevent cracking when dimpled. I still had a few minor cracks that were visible under magnifying glass so not sure what to do in the future with .032 stock when dimpling for #8 screws. I used a chatterless debur tool which I've had exellent results with but this was apparently not enough. Need to consider some polishing technique in the future to prevent such occurances. I used the #19 bit per the plans to enlarge the holes but it was as if this was not quite large enough to accept the dimple tool centering post. Might need to go just slightly larger.