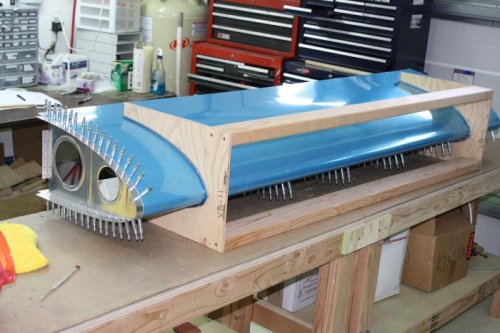
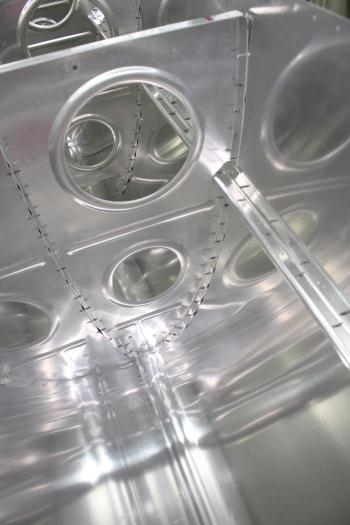
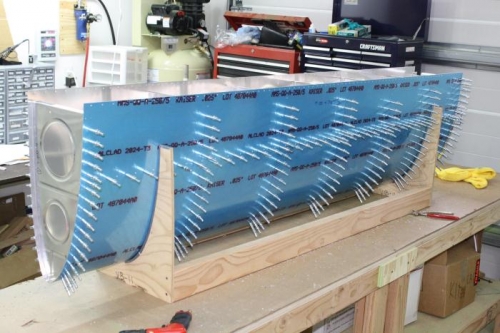
Brief Description: Fit Outboard Leading Edge Left and Right
17-2: Step 5: Cut Splice Strips from Fuel Tank Skins. Deburred both and prepared for assembly. Step 6: Deburred all edges of leading edge assemblies, L and R wing, including the fuel tank skins we harvested the strips from. 17-3: Step 1: Removed inside vinyl coating of L and R wing Leading Edge Skins. Step 2: Assembled all the parts using the leading edge cradle. Clecoed the bottom of the leading edge separately from the cradle first which allowed an easier assembly. Then put it in the cradle and clecoed the upper side, starting at the leading edge and working my way out aft. Seemed to work better. After everything was clecoed in, it was a "shake rattle and roll" to make sure everything was settled into place. I did this by bouncing the cradle off the the build table a few times. Then used a rubber malet to bounce against the ribs to make sure they were set and square to the skins. Made sure everything pulled down square. Step 3: Inserted the J-Channels and drilled them into place per the plans. Step 4: Final drilled all #41 since it will be dimpled. Step 5: Enlarged Splice Strip holes to #19. Step 6: Disassembled all. Good day of lots of work.