
|

|
|
|
Sid & Houston Mayeux Project
|
Date: 7-1-2012
|
Number of Hours: 4.00
|
Manual Reference: Rear window
|
Brief Description: Final prep on rear window
|
|
With the main canopy finally installed and the gas struts pushing them pack into their final position,
I mounted the rear window and positioned it for drilling. I used thicker tongue depressors as spacers to ensure proper gap between the front and aft plexiglass pieces over the roll bar. Image 1 shows my final edge treatment.
WIth the window taped in place over the roll bar/under the fuselage top skin, I then drilled screw holes through the plexi into the roll bar at even spacing. I started at the top and moved outward hopscotching side to side. Each hole got a cleco.
For the screw points along the rear window's side and rear edges, I match-drilled through the holes I had already drilled into the fuselage top skin. I also traced one final reference line with a sharpee along the skin's and roll bar's edges on the plexi. Once this was done, I removed the rear window, machine countersunk the holes for the screws, then enlarged the holes slightly to allow expansion/contraction space between the plexi and screw.
Returning to the sharpee mark showing the skin/roll bar, I marked a new line 1 inch inside that reference line...this is the edge mark for the black border I'll paint in with Sikaflex primer. Image 2 shows me masking that line with electric tape. I then lightly sanded that outer area, treated it with Sika Aktivator and primed it with the Sika primer. While that dried, I returned to the roll bar and tapped the screw holes.
|
|
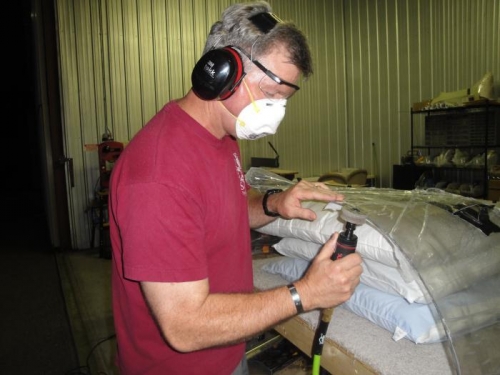
Final edge treatment, refinement
|
|
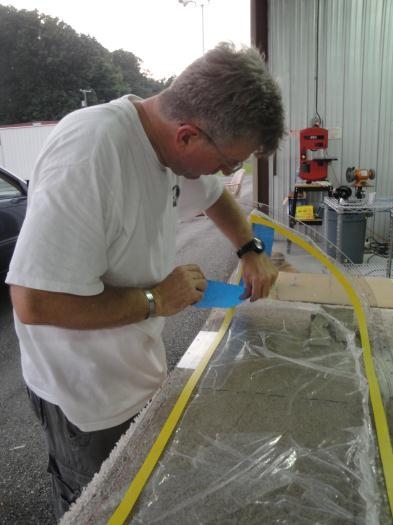
Masking for the sikaflex primer
|
|
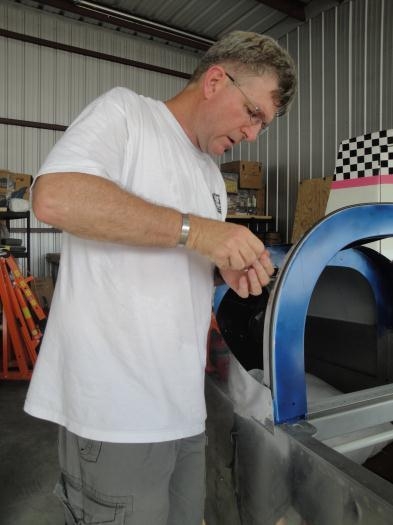
Tapping the screw holes
|
|
|
|
|
|
|
|
|
Copyright © 2001-2024 Matronics. All Rights Reserved.
|