Pull the top cover off of the gearbox and keep the shaft and gear in it. Clamp it in place over the mounting location to mark the new screw holes. Match drill #12 holes through the interior fiberglass using gold #12 clecos to keep in place as you drill. Be careful not to drill through the exterior skin
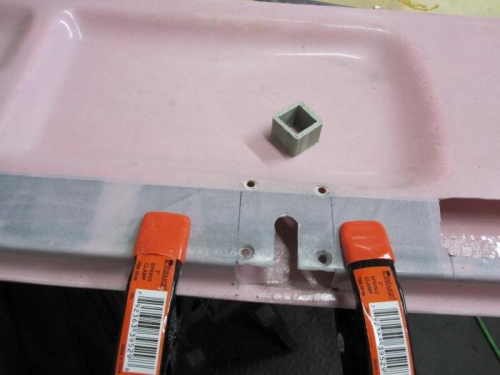
Mix some structural epoxy/fiber mix and reinforce the inner joints of the slot on both sides and glue the structural fiberglass blocks (provided in the kit) into place: these should be as close to the bottom of the door as possible and out of the way so there is no interference when the pushrods are moving. Allow epoxy to dry completely before moving on to next steps.
Note: Imagine the cam will be pulling in on the door in this area. If you adjust the cam too tight there may be undue stress on the door skins. Be careful not to leave any glue in the area where you will be sliding the gearbox back in. A file works great for relieving any tight corners. The bottom slot can be filled in or fiberglassed later to close up this slot and have a clean look. Keep in mind if you had to pull this assembly out in the future you would have to cut this area free to pull the gearbox out so build it up accordingly to your preference.
Countersink the four holes on the interior skin for MS24694 screws