Brad assisted me today. We performed the following steps on the right door.
Cut-off the threaded ends of two AN3-21 A bolts to make the door hinge pin.
Using the cut-off bolts as hinge pins, assemble the WO-1018-L Cabin Hinges to the WO-1019-L Door Hinges and assemble the WD-1018-R Cabin Hinges to the WD-1019-R Door Hinges
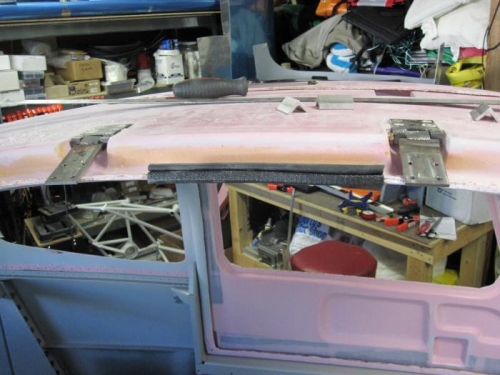
Position the WD-1018-L Cabin Hinge WD-1019-L Door Hinge subassembly in the forward pocket in the C-1001 Cabin Cover. Position the WO-1018-R Cabin Hinge WD-1019-R Door Hinge subassembly in the aft pocket in the cabin cover. The WD-101B-L and -R Cabin Hinges are located on the cabin cover. Use three .125 thick scrap aluminum spacers to locale each cabin hinge to the walls of the hinge pockets. With the cabin hinges held in location, match-drill #12 through one of the inboard holes in each cabin hinge into the cabin cover. Bolt each cabin hinge in place.
Use a straight edge to draw a reference line on the cabin cover. Use the reference line to align the forward and aft cabin hinges to each other. Pivot the cabin hinges about the bolts if/as required to bring them into alignment and match-drill #12 through the three remaining holes in each cabin hinge and into the cabin cover. Install screws, washers, nuts